Batik Painting with Marabu Graphix Aqua Inks

Varied and Interesting Results
Batik is a traditional form of paper and fabric decorating that uses melted wax to block out areas of the material’s surface, and then dyes are applied to add color. Afterwards, the wax is removed to reveal the batik painting designs. The wax can be applied using brushes, sticks or a traditional Javanese tjanting tool.
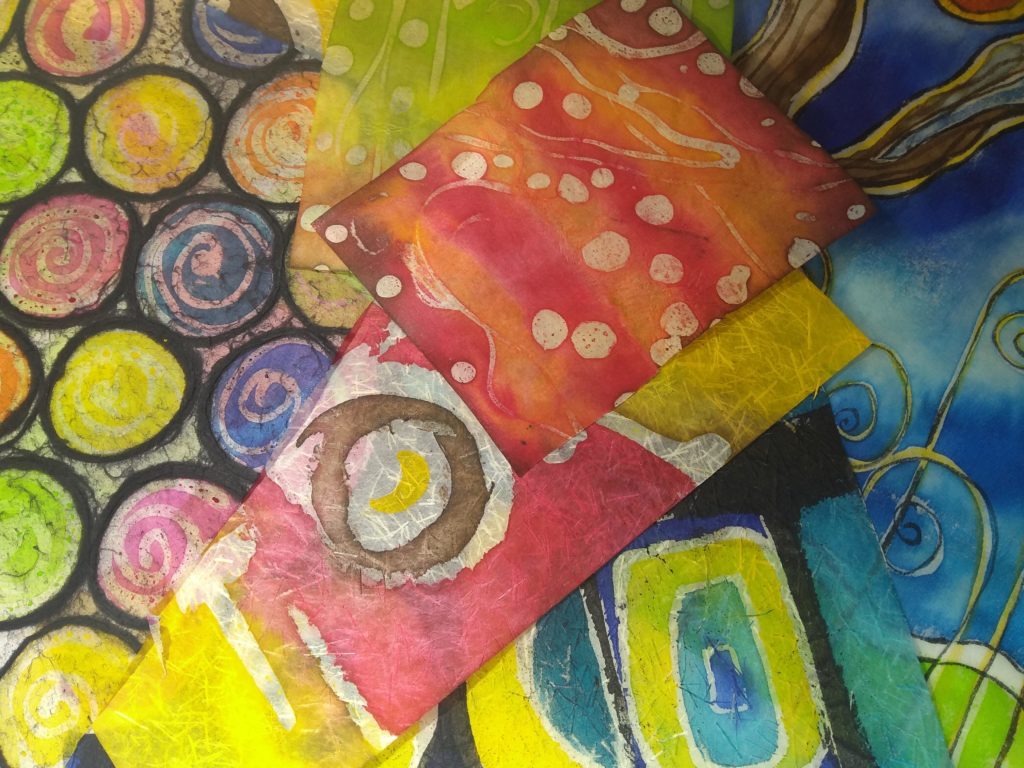
For this project, Marabu Aqua Inks and soy wax are used to create bold, abstract, and geometric batik painting designs. To obtain varied and interesting results, a variety of smooth, textured, and patterned papers are used.
Batik Painting Materials List
 Marabu Graphix Aqua Inks: various colors
Soy wax
Handmade papers: Ginwashi, Mulberry, and decorative styles
Brushes: natural bristle or goat hair in assorted sizes
Cotton balls, wool felt, bamboo calligraphy pens (optional)
Tjanting tools: various sizes (optional)
Synthetic watercolor brushes in assorted sizes
Griddle or hot plate
Metal or foil baking dish
Parchment paper
Paper towels
Unprinted newsprint (optional)
Wood or cardboard frame (optional)
Step 1
To melt the soy wax, you’ll need a griddle or hot plate. Place the wax, which usually comes in pellet form, into a metal or foil baking dish with high sides to prevent spills. Place the dish onto the griddle or hot plate and set to a low temperature.

Safety is very important. Always use a heating element that can be controlled by a thermostat. Soy wax is ideal for this project as it needs a relatively low temperature to melt, around 150F. Never melt the wax over an open flame or heat the wax to such a high temperature that it smokes or it may ignite.
Step 2
Relatively thin papers were chosen for this project. To prevent the wax and ink from bleeding through to the work surface below, thin papers should be supported on either parchment paper or stretched onto a cardboard or wooden frame to raise them from the work surface. Either of these methods will facilitate easier application of the wax and the Aqua Inks.

Step 3
When the wax has melted, it will be a transparent. As it hardens, it will turn opaque. You have to move quickly as you’ll only have about 5-10 seconds to apply the molten wax onto your paper before it hardens. Before starting, it’s good to have a relatively clear idea of where you want to place your marks. Anywhere the molten wax is placed will resist the Aqua Inks.
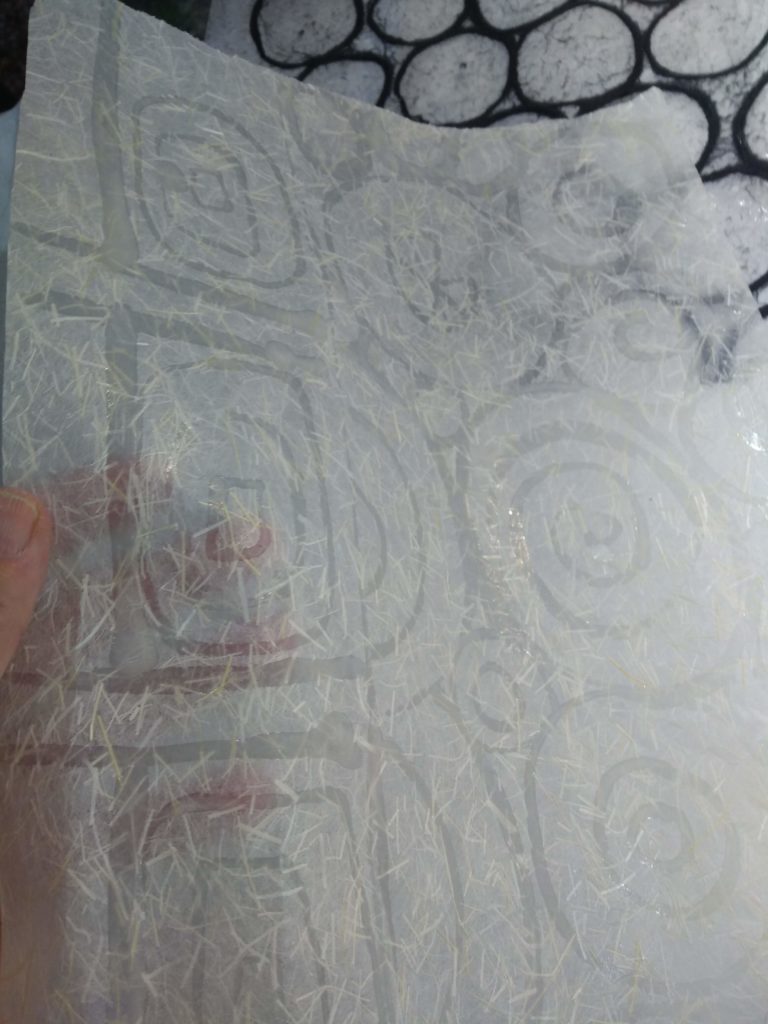
Note: Soy wax is a vegetable-based wax and, therefore, vegan-safe. To apply the wax, natural fiber brushes can also be avoided by using wooden sticks, tjanting tools, cotton balls, wool felt or bamboo calligraphy pens to make marks. Synthetic brushes will not withstand the high temperature of the wax.
Step 4
After the wax has hardened, apply the Aqua Inks to your design using a synthetic watercolor brush. Aqua Inks are highly pigmented and transparent liquid watercolors. The colors are extremely lightfast, scoring 6 and above out of 8 on the Blue Wool Scale, with 8 being the most lightfast.
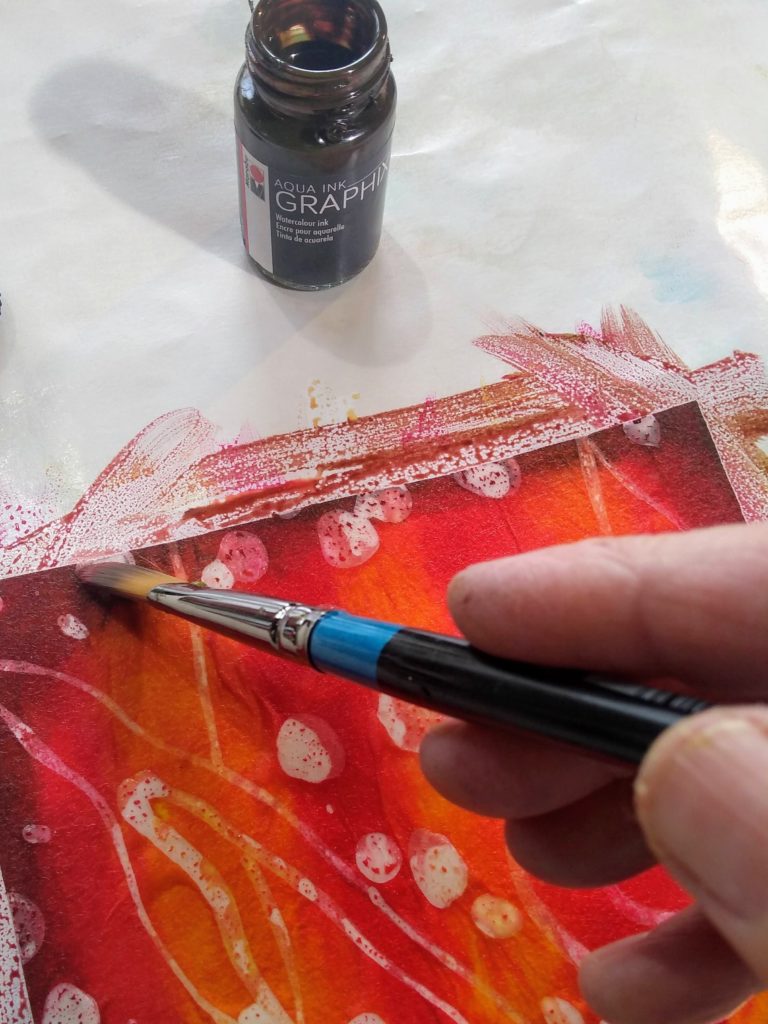

The colors can be blended with each other. They can be extended with water and rehydrated even when dry.

The texture of the paper will determine how the Aqua Inks flow and spread. The course plant fibers found in Ginwashi paper will cause the inks to sometimes bleed beyond the wax marks. Bare this in mind when choosing your design.
Step 5
To remove the wax, place the artwork between pieces of paper towel or unprinted newsprint. Use an iron, on cotton setting, to re-heat the wax and blot it from the artwork onto the paper towel or newsprint.

Change the paper towel or newsprint regularly until little or no wax melts off the artwork.
Step 6
If desired, you can apply additional colors to your design, after the first wax application has been removed with the iron. Simply paint the Aqua Inks where desired to add further color.

Another option is to create layers of color by applying additional layers of wax to areas already painted with inks.

In these examples, colors were first applied within the wax design, then additional wax was applied after the first layer was removed. Any area covered with soy wax will resist the Aqua ink.
Enjoy this free video full of tips on how to get the most out of the Marabu Aqua Inks with Celia as your guide!
About Marabu
 Creativity is infinite. Marabu provides a complete range of colors, mediums and tools for you to imagine creativity in all its forms including their Graphix Aqua Inks, used in this colorful and varied batik painting demo and their colorful watercolor screen printing demo. They provide creative ideas, valuable tips, starter sets and step-by-step instructions so artists and hobbyists can be successful with any creative project.
About the Artist

Marabu National Artist Educator and mixed media artist Celia Buchanan holds a B.A. in 2-D surface design from Duncan of Jordanstone College of Art, Dundee, Scotland, and an M.A. in arts management in education from the City University, London.
Celia’s work has been featured in galleries notably the Institute of Education, London, National Exhibition Center, U.K. and The London Design Center. The author of several books and magazine articles on surface design and fiber arts, Celia has been working in her field for over three decades. She now works for Marabu North America and teaches throughout the USA.
Explore alternative surfaces and mixed media methods with 45 innovative ways to use acrylic paints, mediums, and a variety of mixed-media art supplies to achieve the look of encaustic with Acrylic Painting for Encaustic Effects.

Good article – I really enjoyed it. The inks are exceptionally rich. Can they be used on Fabric too? Presumabley not colour fast.