Portrait Drawing Demonstration: How to Draw a Woman’s Portrait in Charcoal Step-by-Step

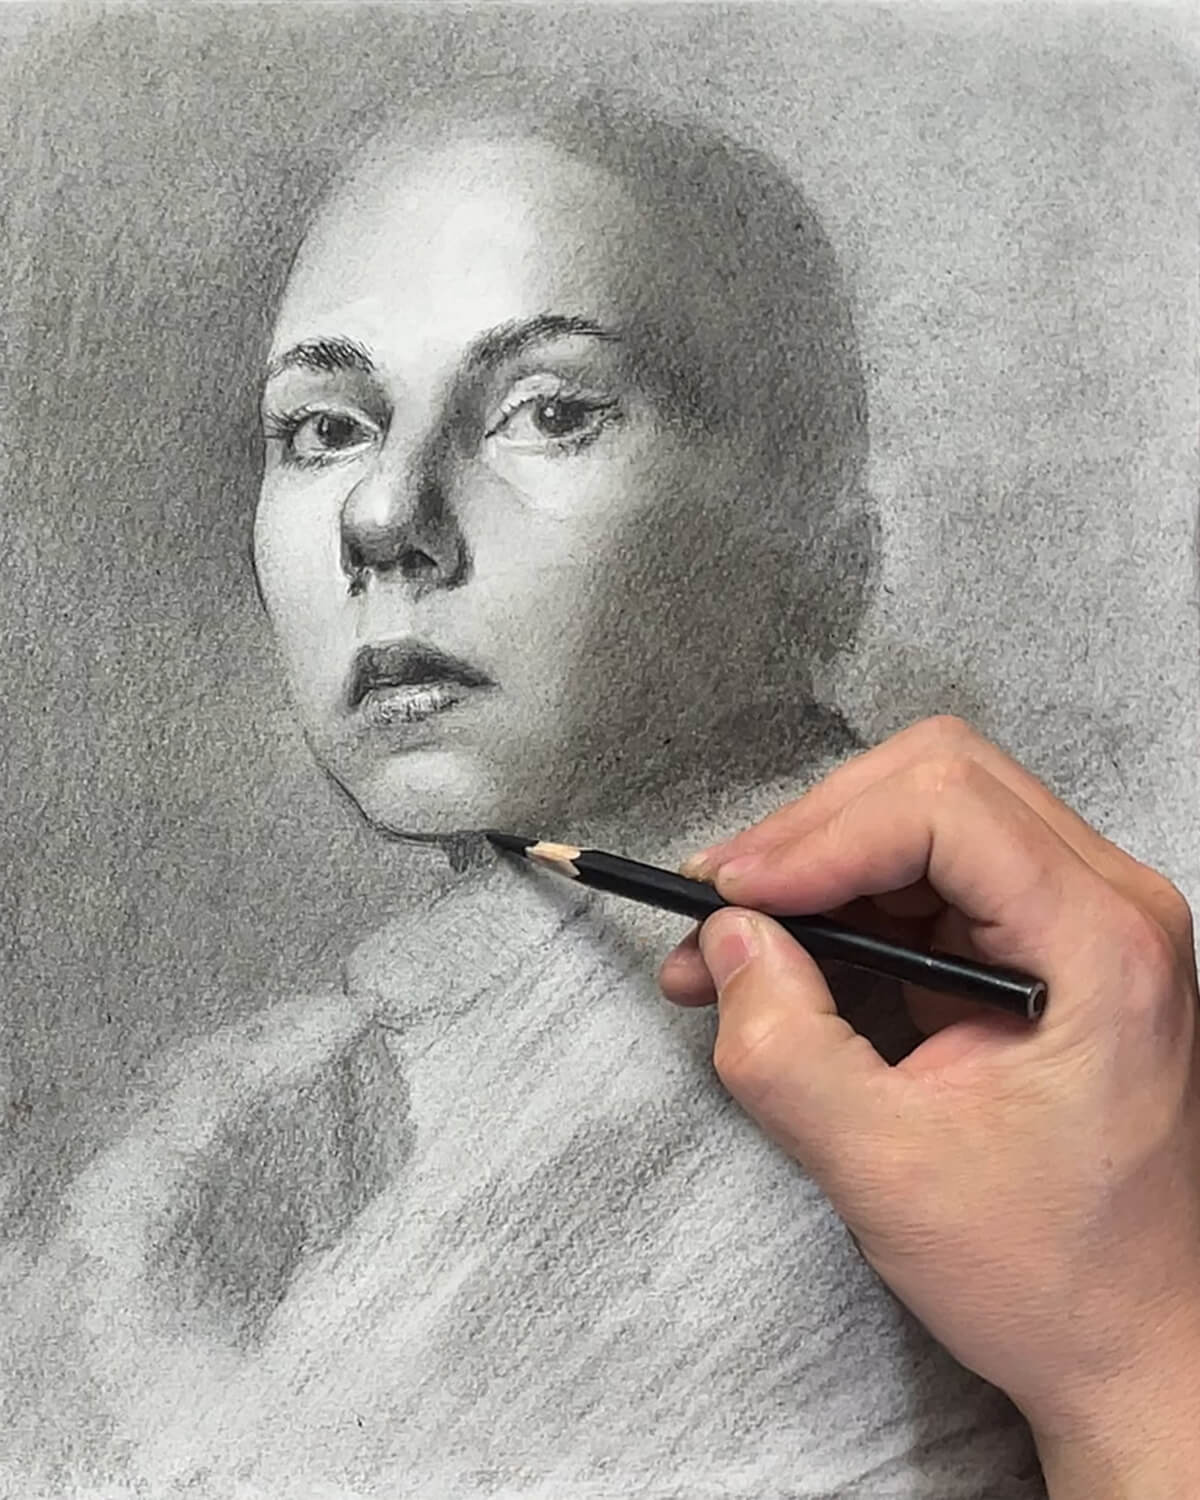
In this step-by-step portrait drawing demonstration, artist Scott Maier leads you through the process of creating your own charcoal portrait. You’ll find all the resources you need, including links to a full-length video if you need more.
Note: This portrait drawing demonstration might be challenging for beginners, but it can be helpful to understand the step-by-step process. If you’re looking to explore the fundamentals of portrait drawing, a great place to start is this post: A Portrait Demonstration You Won’t Want to Miss
Reference Photo
This portrait drawing demonstration is based on a photo by Teslariu Mihai from Unsplash, an online resource for copyright-free photographs.
Download
Materials
- 9 x11-inch sheet of Rives BFK cotton rag paper
- Hard (2B) and soft (6B) charcoal pencils
- Vine charcoal
- White charcoal stick or pastel pencil
- Blending stump
- Paper towel or soft rag
- Kneaded eraser
- Rubber eraser
Step-by-Step Demonstration
Step 1/5: Gesture

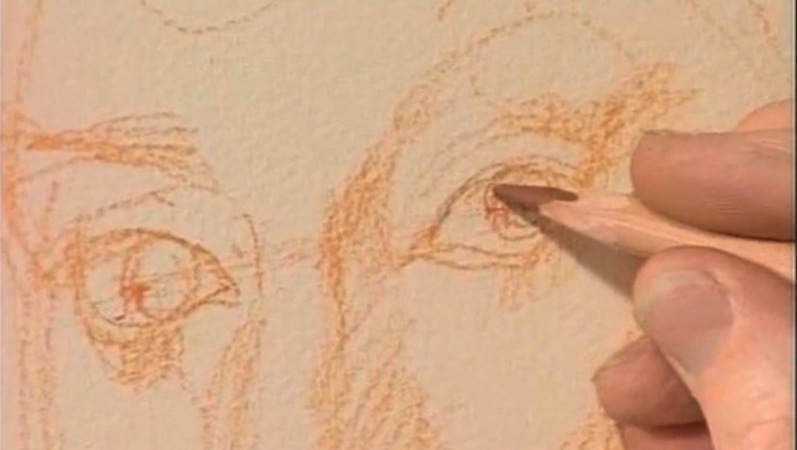
Using vine charcoal, I first put down a gesture for the portrait. To do this, I focused primarily on large shapes of light and dark. Squinting your eyes to blur your vision at this stage can help you eliminate the details and see the large value shapes. Expect these initial marks to be inaccurate and simply work to build rough lines and shapes on your paper.
Step 2/5: Measure

I gently wiped down the initial gesture to soften the charcoal. I then identified the large angles in the portrait using angle-sighting, approximating the placement of features through comparative measuring. To locate the central axis for the eyes, for example, divide the head in half.
Using short, straight, angular marks, I continued to define the features. The vine charcoal is soft and easy to adjust, so take your time in this stage. Use plumb lines (undeviating vertical lines) and horizontal guides to make sure the major elements are appropriately aligned with one another.
Tip: Focus on the negative space between features to help identify the sizes and placements.
Step 3/5: Refine Shapes

I used the harder 2B charcoal pencil to refine the larger shapes, paying close attention to the edges and identifying where there should be sharp edges as well as smooth gradations. Notice, for example, the sharper edge of the hair and ear shape compared to the soft edge between the light side and shadow shape along the cheek.
Use your charcoal pencil to smoothly blend value transitions in the background as well, building many light layers. I wiped the charcoal softly with a paper towel periodically to smoothly blend. I used a blending stump to further define the shapes of the features, keeping them light yet visible.
Learn More: Best Blending Tools for Drawing
Step 4/5: Finish the Facial Features

Starting with the 2B charcoal pencil, I refined the facial features, using a blending stump to smooth transitions. A sharpened rubber eraser is useful for lifting sharp highlights and edges in the eyes and nose. Notice the soft edges around the lips.
I used the softer, 6B charcoal pencil to create more depth in the dark areas, and alternated between the two pencils as needed to refine and soften the gradation between the light and shadow sides. Note that the highlights are brighter on the forehead and nose, and slightly darker on the mouth and chin.
Tip: Find the line of termination to help establish an accurate transition between the light side of the face and shadow side.
Step 5/5: Final Details

Finish the drawing with as much or as little detail in the remaining portions as you like. On the right side, I darkened and refined the hair, shadow, and ear using the 2B charcoal pencil. Then I used the 6B charcoal pencil to add greater depth to those areas. I finished drawing the hand and sweater, using primarily the 2B charcoal pencil.
Make sure your darkest darks remain in the features and head. Light, fine lines can be used to sharpen and define areas of the head, which will bring those areas more into focus.
Tip: Use the side of the pencil rather than the tip to create the fine lines in the hair. Use a sharpened rubber eraser to lift fine light details in the hair and sweater.
Meet the Artist

Scott Maier
Scott Maier is an artist, video producer, content creator, and author. As host and creator of the popular Artists Network show Drawing Together, he brought thousands of artists together every week to practice drawing. Maier is also the author of See, Think, Draw (July 2022), an instructional drawing book with 30+ exercises and lessons.
Access 100+ In-Depth Drawing Lessons
Become an Artists Network member for instant access to full-length video lessons by some of the best artists around.
Join Now


Have a technical question?
Contact UsJoin the Conversation!