The Blind Contour Exercise | Good Drawings Start Here
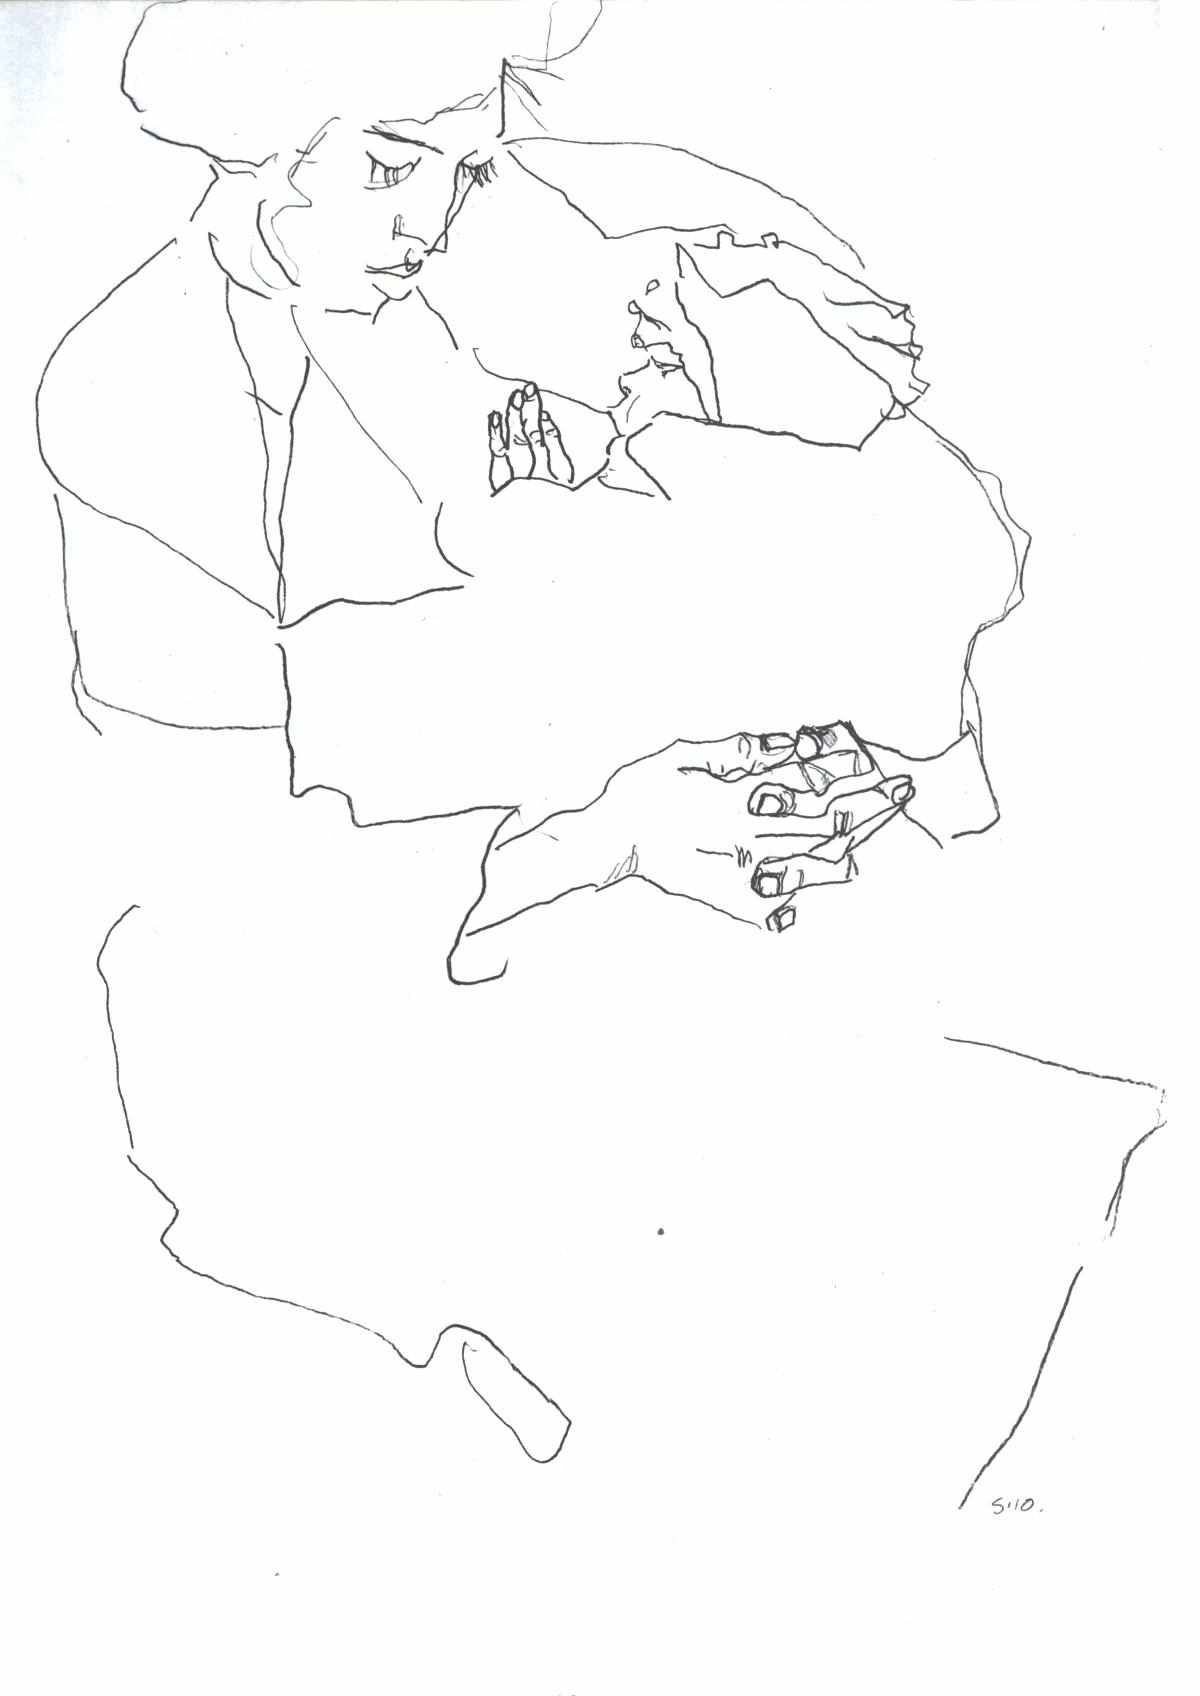
Beginner Drawings Start with a Simple Line
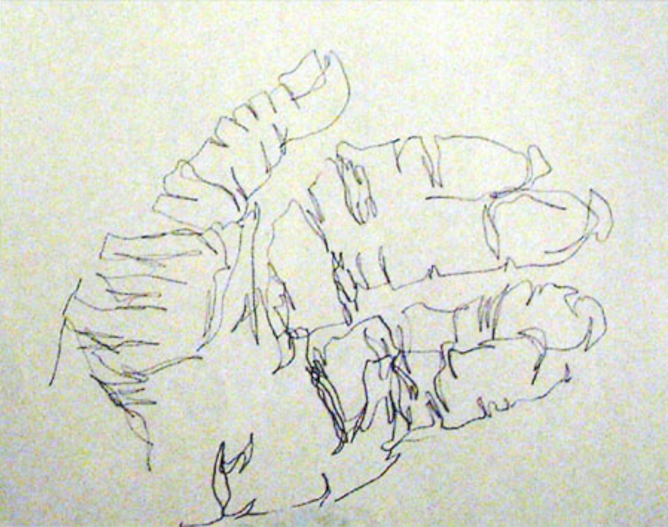
The blind contour drawing exercise is a fundamental tool that can help beginning artists create their first drawings, as well as help experienced artists become reacquainted with the power of observation.
Popularized by Kimon Nicolaïdes in his 1941 book The Natural Way to Draw: A Working Plan for Art Study, the blind contour method involves carefully observing the outline and shapes of a subject while slowly drawing its contours in a continuous line without looking at the paper. By doing so, artists are forced to draw what they actually see instead of what they think they see.
The method seems simple. But it helps artists of all levels improve their observational skills by instructing them to look at the lines, shapes and patterns of objects and how they combine to form what we see.
The Blind Contour Exercise in 7 steps

“Drawing through observation is a skill that most people are capable of learning,” says Terry O’Day, the chair of the art department at Pacific University, in Forest Grove, Oregon, where the Blind Contour method is taught. “The physical act of drawing consists mostly of developing hand-eye coordination. Anyone who can write legibly has the physical ability to record observations of a subject through drawing.”
O’Day continues, “The reason most people have difficulty drawing realistically is not because of any lack of physical skill or talent, but because they have not been trained to really look at what they see.”
To help her students do this, O’Day instructs them to practice a simple, 20-minute blind contour exercise.
To get started, you will need:
- Paper
- Pencil or pen
- A timer
Once you have the right supplies:
- Choose a subject to draw — still-life objects or the figure work well for this exercise
- Set the timer for 20 minutes.
- Tape the paper to your drawing surface so it doesn’t shift as you draw.
- Arrange yourself so you can see the object you will be drawing without seeing the paper.
- Focus your eyes on some part of the object and begin moving your pencil to record what your eyes observe.
- Do not look down at the paper as your draw. Rather, force yourself to concentrate on how the shapes, lines, and contours of the object relate to one another.
- Continue observing and recording until the timer rings
“Although this exercise can be difficult at first,” notes O’Day. “With practice and perseverance, it will become easier and you will learn to shift your thinking from an analytical, labeling mode to one that is more intuitive.”
Need More Drawing Instruction?
For more tips and tricks for creating skillful beginner drawings, check out Learn to Draw with Alain Picard: Basics. In this video instruction, Picard breaks drawing down into easy-to-understand principles. Along the way, he demonstrates basics such as the different ways to hold a pencil to how to complete a step-by-step drawing of a pear.
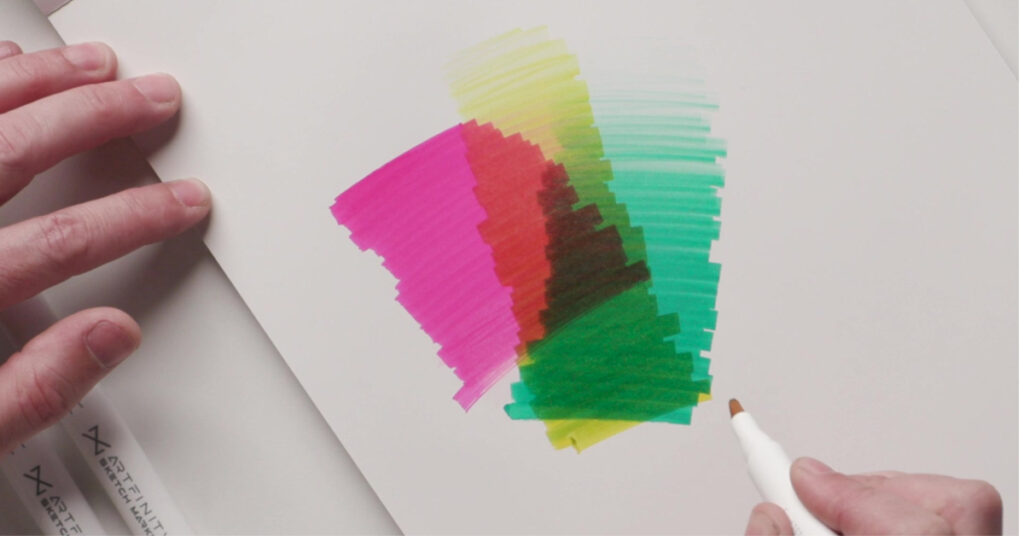
Below is a preview of this drawing workshop, which includes a quick mark-making demo using a variety of tools. Enjoy!
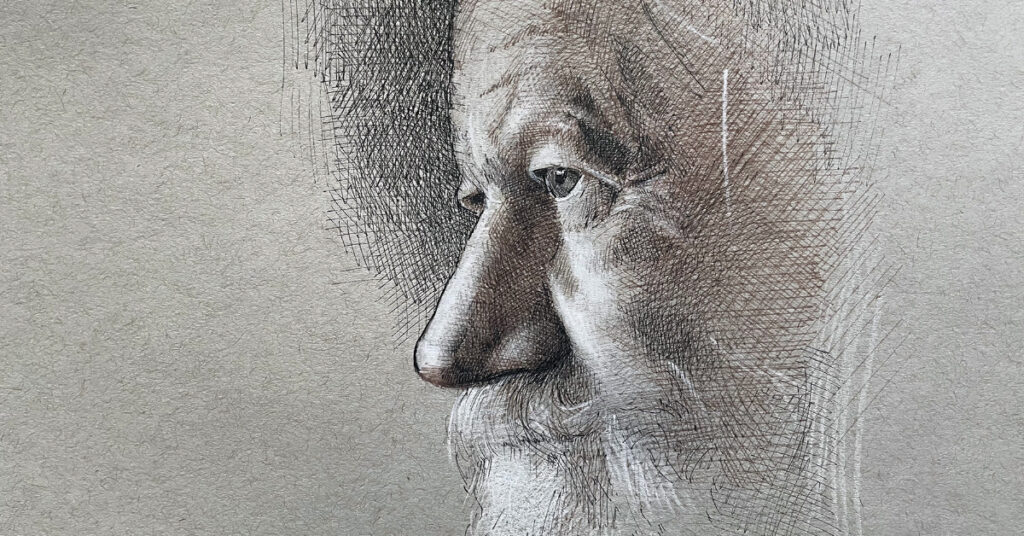


Wondering why you don’t work from actual objects in front of you? How do you ever teach students about volume and form without looking at 3D shapes.