Get Killer Effects with Watercolor Painting

With Watercolor Painting, You Have to Know the Paints and How to Use Them
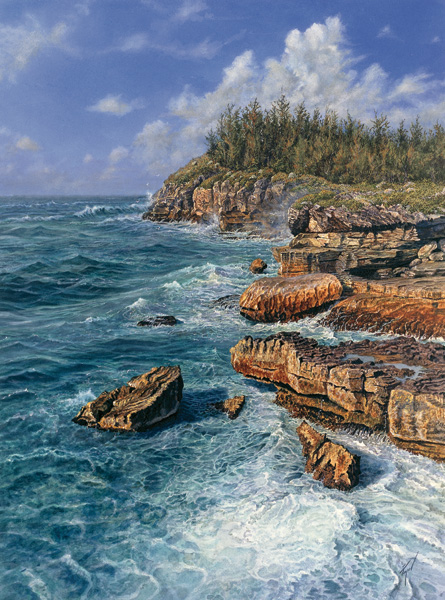
Full disclosure? I am going cross-eyed right now. This article has so many essential methods to watercolor painting that I feel like I just mentally digested the entire Encyclopaedia Britannica of watercolor. You will find materials tips, five secrets to a perfect wash, seven things to look for in watercolor paints, almost a dozen painting techniques, and a painting breakdown that will really open your eyes to how a master builds a painting.
Your challenge if you choose to accept it: take this knowledge into the studio to create extraordinary paintings that have tons of powerful visual effects. I want you to shine, artists. This is the way!
True, in this article you are going to find everything you could ever want to know on watercolor effects and materials. But be sure to not stop here. Teaching yourself the skills is one thing. Being taught by a master focusing on color and light — the aspects of watercolor that make it extraordinary — that’s another thing. And that is where instructor Michael Reardon’s DVDs — Light and Color in Waterscapes, Light and Color in Cityscapes, and Light and Color in Landscapes — come in. These resources give beginners and advanced painters alike killer watercolor skills and access to the methods of a master contemporary watercolorist. Enjoy!
Courtney
P.S. I’m excited to announce that our ArtistsNetwork.TV free trail weekend is going on right now–but today is the last day to sign up! Get all the details and sign up now!
Watercolor Painting Starts with Materials
Paper:
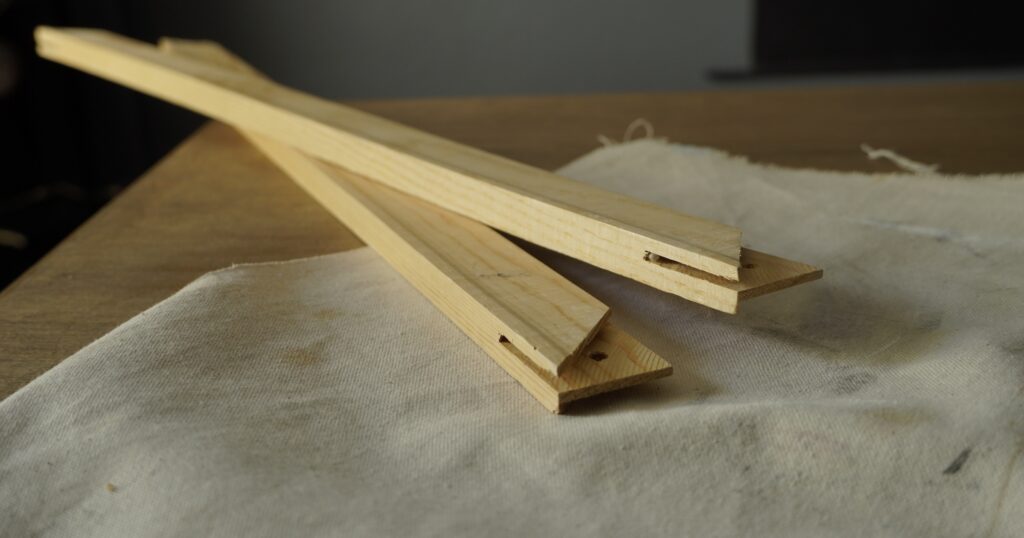
-Use artist’s grade 140-lb or 300-lb cold-pressed paper. Hot-pressed paper is not as effective for layering and rough texture impedes making detail.
-Most good handmade artist-grade papers can be painted on either side, though this is not always the case with paper from a watercolor block. The texture on the reverse of the paper is often slightly rougher. Depending on the piece, work on either side of the paper.
Pencils:
-Begin by drawing directly on the paper with an F graphite pencil.
-Softer graphite has a tendency to come off during the subsequent applications of paint, requiring a lot of redrawing.
-Initially, harder pencils may damage the paper, but they can be very useful when drawing on a previously painted surface.
Brushes:
-Use a variety of brushes—large and small, flat and round—made of materials that vary from synthetic hair to kolinsky sables.
-There is no standard in brush sizes, so it’s not always easy to compare sizes from brand to brand.
-It is never a good idea to use any brush that is too small. A small brush won’t hold enough paint for many types of techniques. I recommend not using anything smaller than a No. 3 round.

Color. Paint. Pigment.
The terms color, paint, and pigment are sometimes used interchangeably. They are related but distinctly different.
Color is merely a sensation in the brain as a reaction to light.
Pigment is a finely ground powder used as the coloring agent in paint.
Paint is a material typically made up of pigment and some type of vehicle used to spread or carry the pigment over a surface.
A Perfect Wash — 5 Watercolor Painting Secrets
1. Use artist’s grade paper.
2.Mix enough paint.
3. Tilt the drawing board at a slight angle and fully load the largest brush you have. Evenly apply the paint over the upper edge of the area to be painted. If applied correctly, a small bead of paint should form at the bottom of the brushstroke.
4. Reload and repeat this process, picking up the bead of paint from the previous brushstroke with the subsequent brushstroke.
5. Remove excess paint at the bottom of the wash with a damp brush. The excess paint can run into a drying wash and ruin it. A damp brush will wick up excess moisture more readily than a dry brush. Boom! Secrets of the masters!
Watercolor Paints — What to Look For
+Paints vary from manufacturer to manufacturer. Use a number of different paints made from many different manufacturers.
+Look for whether the paints are staining or nonstaining?
+Translucent or opaque?
+What’s the paint’s body? Or how thick and viscous is the paint?
+What’s its tinting strength — how will it influences either white or other colors? Mass tone means full strength. Undertone means thinned with water or mixed with white.
+Granulation: will the paint react smoothly with water or does it granulate?
+Will it resist fading with exposure to light? Anything with an ASTM lightfast rating of I or II won’t fade on you.
Opacity. Transparency. Mass Tone. Undertone.
When an artist applies the paint thinly enough that light still passes through each layer of paint, hits the paper, and bounces back out again (undertone). This optical mixing of the paint with the white of the paper is one of the factors that gives watercolor its sparkle
Apply the color more heavily, in some cases so much so that eventually there are moments when it’s almost like it’s straight from the tube, that’s mass or top tone.
Opaque colors, such as cerulean blue, tend to change less in their appearance from their top tone to their undertone. If done carefully, using a paint’s top tone and undertone together can open up a myriad of possibilities.

Painting Breakdown: Low Tide, Elbow Beach
- To paint the sky I first applied a light cadmium-lemon wash over the cloud. I then masked the cloud with liquid mask and applied several washes of cerulean and ultramarine blue to the sky.
- After removing the mask, I scrubbed some edges of the cloud using a white sable to soften them. I dampened other edges with clean water and then dropped in some of the blue mixture to soften the rest.
- I created much of the interior of the cloud by working wet-in-damp.
- I built up layers of color throughout the rest of the painting, frequently using analogous colors to keep the color clean.
- Multiple layers of color created the effect of wet sand.
- Using a single-edge razor blade, I picked out the sparkly highlights on the water and the wet sand.
Water Control
Water control begins with something as basic as knowing how and when to successfully apply washes, both flat and graded.
A wash is a series of brushstrokes executed in such a way that, when complete, no brushstrokes are visible.
A flat wash has an even amount of pigment throughout, while a graded wash changes the amount of pigment from more to less.
This might sound simple, but not knowing how to properly execute a wash will produce paintings with meaningless, superfluous, and even distracting texture. Viewers will not know whether to focus on the texture on a wall or the unintended texture floating around in the sky. Mindless accidents are just as visible as any area of a finished watercolor.
Wet-in-Wet and Wet-in-Damp
A number of watercolor techniques perform really well on premoistened paper. I work on premoistened paper frequently, and each time I take into account the amount of moisture already on the paper before I start.
Wet-in-wet. Make sure the paper is evenly wet, not puddling, but to the point where there is a slight sheen of moisture to the paper.
Wet-in-damp. You want the paper to be evenly moist, but there is less moisture than if you were working wet-in-wet and no sheen to the paper.
Experiment with both of these is key to understanding your watercolor painting capabilities! Here’s what to remember:
- Drop paint onto the paper, allowing it to spread or bleed across. The moisture already on the paper helps draw the paint from the brush.
- If the subsequent application has too much water in it, the weight of that water will push the wet paint already on the paper out of the way. This is called a bloom. It can be a very cool effect.
- When working into wet paint, there is an “open” time when you can work. As the paper begins to dry it will no longer draw the paint from the brush and you may start to pick up some of the paint already on the paper. Be aware!

Overpainting. Glazing. Scumbling.
For a while during the painting process it is possible to continue building layers of washes. Eventually, to make sure you don’t disturb the underlying paint, reduce the amount of water that is in your paint mixture. This application is called a glaze. A glaze is a thin, even, controlled transparent layer of paint. It is a type of overpainting because it is applied over a previously painted surface but done in such a way that the underlying paint is still visible.
*One way to think about the difference between a wash and a glaze is that when applying a wash there is a bead of paint at the bottom of the brushstroke. When applying a glaze, the artist has reduced the amount of water only to the point where there is no longer a bead.*
A scumble or scumbling is a thin layer of opaque paint, typically rubbed or scrubbed over a previously painted surface. Even though the paint used is opaque, it is applied in such a way that the underlying painting remains visible. It is often applied more randomly than a glaze.
Softening. Scrubbing. Drybrush(ing). Scratching.
These are the techniques you will use toward the end of the painting process.
– One is drybrush, which, like glazing and scumbling, is a form of overpainting and looks best when applied to a previously painted surface. It works best on paper that has some texture itself, so often I will use the rougher side of the paper if I expect to be doing much drybrush during a particular piece.
-Another almost opposite technique is softening a still-wet brushstroke with a damp brush. I use this technique to paint everything from clouds to portraits.
-Still another is scrubbing out color with a damp brush. Store-bought scrubbers, which can be purchased at any art-supply store, work well for this, as does any old bristle brush. Typically I use an old white sable synthetic. Scrubbing can be done to soften edges, or sometimes I use it to pick out clouds from a smooth wash. Of course this technique will not work very well on staining paints. A variation of this technique is to use a Pink Pearl eraser. It won’t pick up quite as much pigment as scrubbing with a damp brush, but is very useful for more subtle effects.
-Finally, I sometimes like to scratch out highlights with a single-edge razor blade.
Brush Marks
You can draw with your brush while watercolor painting. Unlike when painting a wash and a glaze, these brushstrokes are meant to leave clearly visible brush marks.
Tips for brush marks
-Make brush marks later during the painting process so they are preserved
-Let them be descriptive — to paint everything from foliage to water, falling snow, and even concrete
-Make them elegant — before it’s a tree limb, before it’s an eyelash, it’s a mark in watercolor, and as such should be as beautiful as possible
-Make marks that are idiosyncratic and individual
***
About the artist and author…New Jersey resident James Toogood studied at the Pennsylvania Academy of the Fine Arts, in Philadelphia. The subject of more than 35 solo exhibitions, he has participated in numerous group shows, including those of the American Watercolor Society and the National Academy of Design, winning many awards. He frequently juries exhibitions and was an awards juror for the 2006 American Watercolor Society annual. Toogood has written many articles and contributed to several books, and his work is widely collected throughout the United States and abroad. He is represented by Rosenfeld Gallery, in Philadelphia. He teaches at the Pennsylvania Academy of the Fine Arts, the National Academy School of Fine Arts, in New York City, and the Perkins Center for the Arts, in Moorestown, New Jersey. He also conducts watercolor workshops throughout the United States.

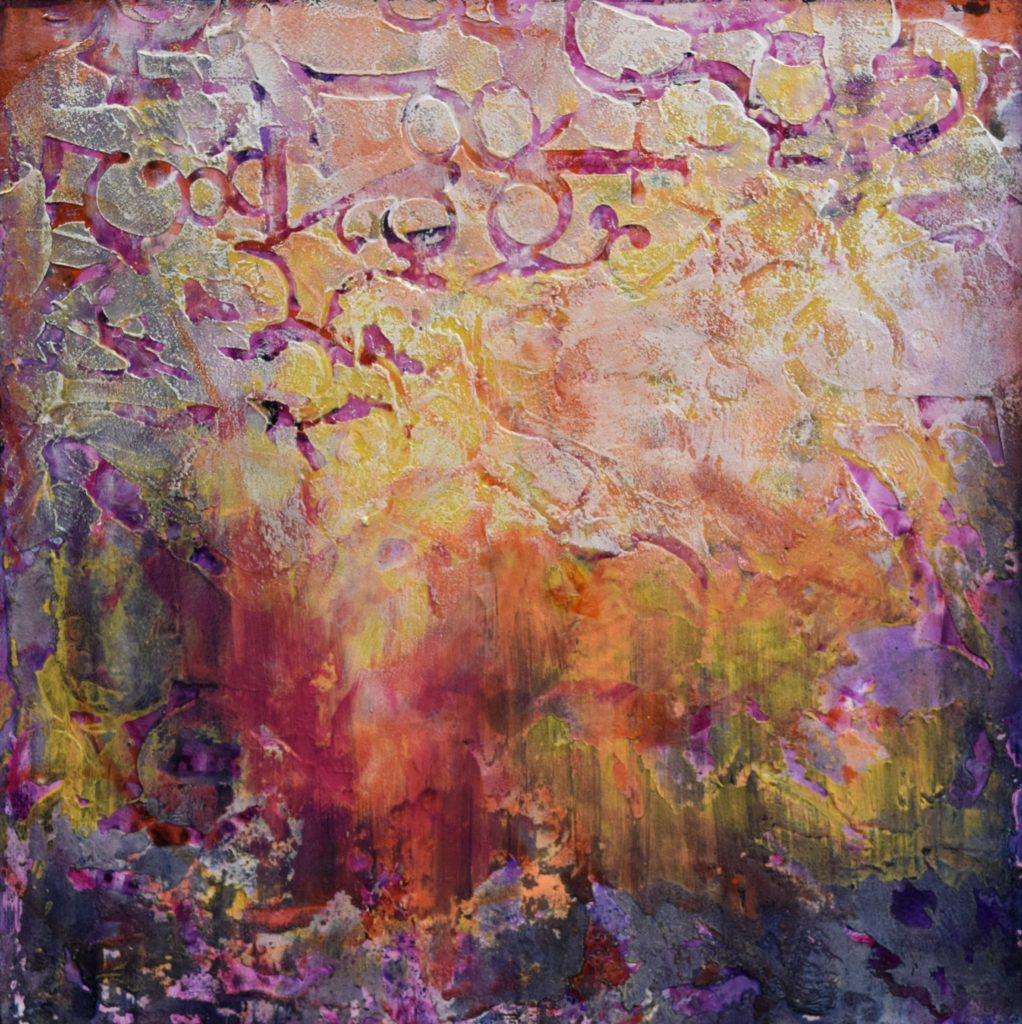
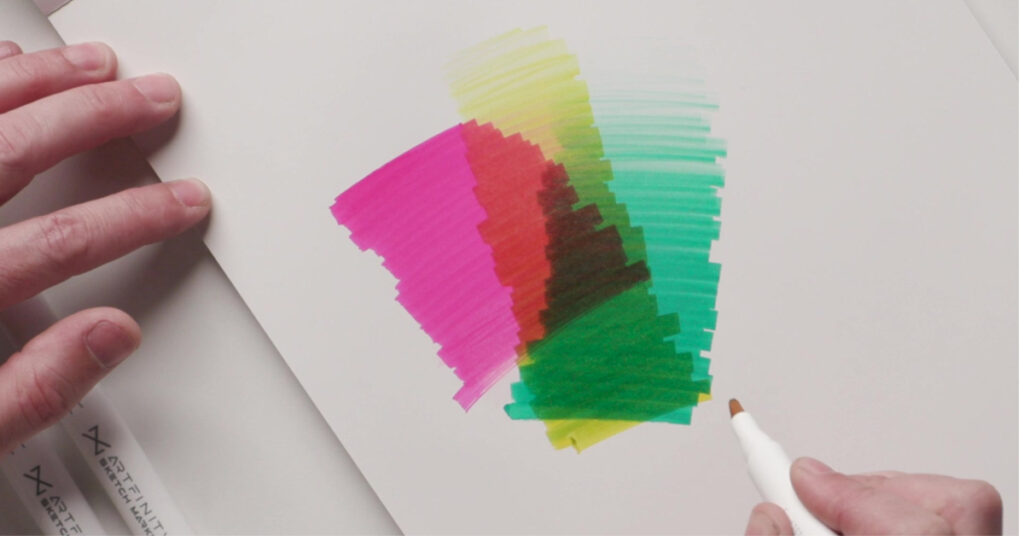
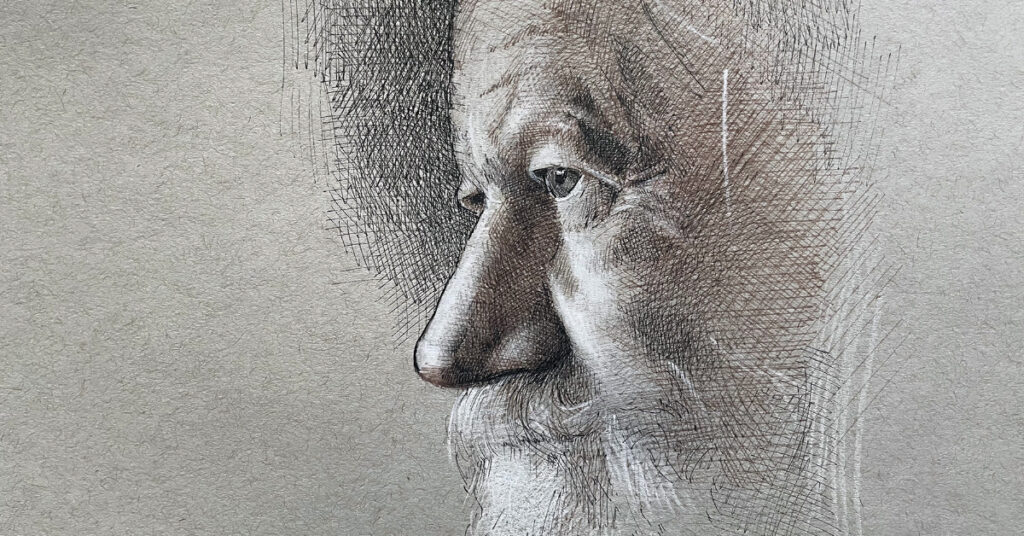
Hi Billie, All these are the works of James Toogood according to our records but if you have more information or a link to Myrna’s work, we will look into this further. Thank you for your keen eye!
Possible correction (?) The line painting in the last image is credited to James Toogood but I believe this is the work of Myrna Wacknov.