Create a Customized Paint Roller

The following demonstration comes from Lisa Cyr’s Experimental Painting.
Making a Customized Roller
Using everyday materials, custom tools can be produced to introduce signature mark-making and imprints onto the working surface. Further expanding the visual vocabulary, one-of-a-kind instruments allow for a distinctive, personal approach to picture making.
Materials
Masonite ¼-inch thick (6mm)
Heavy-duty mailing tube
Decorative fabric lace
Relief blocks
Paint rollers: 4- and 9-inch (10cm and 23cm)
Paint roller handle
Pastry spatula
Metal ruler
Acrylic matte medium
Acrylic matte gel medium
Molding paste
White gesso
Flat nylon brush
Sandpaper
Cotton cloth
Hand saw

1 The plastic caps are removed from the ends of the mailing tube and put aside. Using a hand saw, a heavy-duty 2-inch (5cm) diameter mailing tube is cut to approximately 10 inches (25cm) long. A bigger trim size can also be used for larger works. Note: Bendable cardboard tubes will not work.
 2 A 4-inch (10cm) paint roller is temporarily inserted part way into the tube. This is used as a holding device while the tube is coated. Three coats of acrylic matte medium are applied with a soft fl at brush all around the tube to seal the surface. To establish the imprint base, acrylic matte gel medium is applied to the surface. A thicker application of gel medium will allow for a more dimensional texture while a thinner coat will produce a more subtle relief.

3 While the gel medium is still wet, the tube is slowly but fi rmly rolled over a piece of fabric lace to deboss the surface with an overall texture. For more detailed areas, various relief blocks are also imprinted into the surface. Almost any material, porous or nonporous, can be used to create texture. The tube is dried overnight in an upright position.

4 Once the gel medium has fully cured, sandpaper is used to
smooth out any unwanted peaks on the surface. The small roller is
removed and a large 9-inch (23cm) roller with an attached handle
is fully inserted. This will ensure an even distribution of weight and
ease of use. One of the plastic caps is used to seal the other side
of the tube.
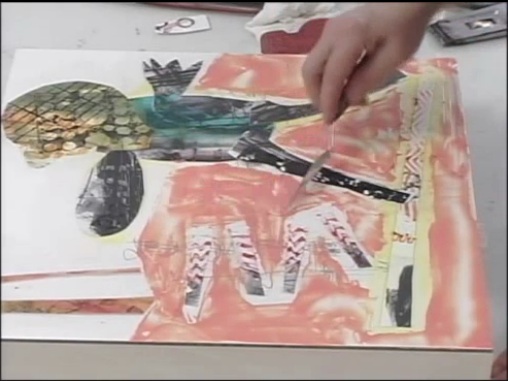
 5 A layer of molding paste is applied to a gesso-primed Masonite surface with a pastry spatula.

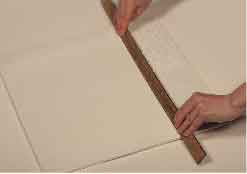
6 A metal ruler is used along the vertical as well as the horizontal to thin down and evenly distribute the molding paste. A very heavy coating of molding paste will not work for this application.

7 The custom tool is employed by pressing it fi rmly on the surface and rolling slowly in various random directions, allowing the unique, textured pattern to appear. If any molding paste builds up on the tube, simply wipe away with a slightly damp cotton cloth. Since the tube is sealed, it can be cleaned with water and a nail brush and reused for other applications. When cleaning, the plastic caps should be inserted on both sides to protect the interior of the tube once the handle and roller have been pulled out.
For more on acrylic painting, check out Patty Brady’s Rethinking Acrylic. 


Have a technical question?
Contact UsJoin the Conversation!