Take a Step Back and Let Your Subconscious Do the Drawing
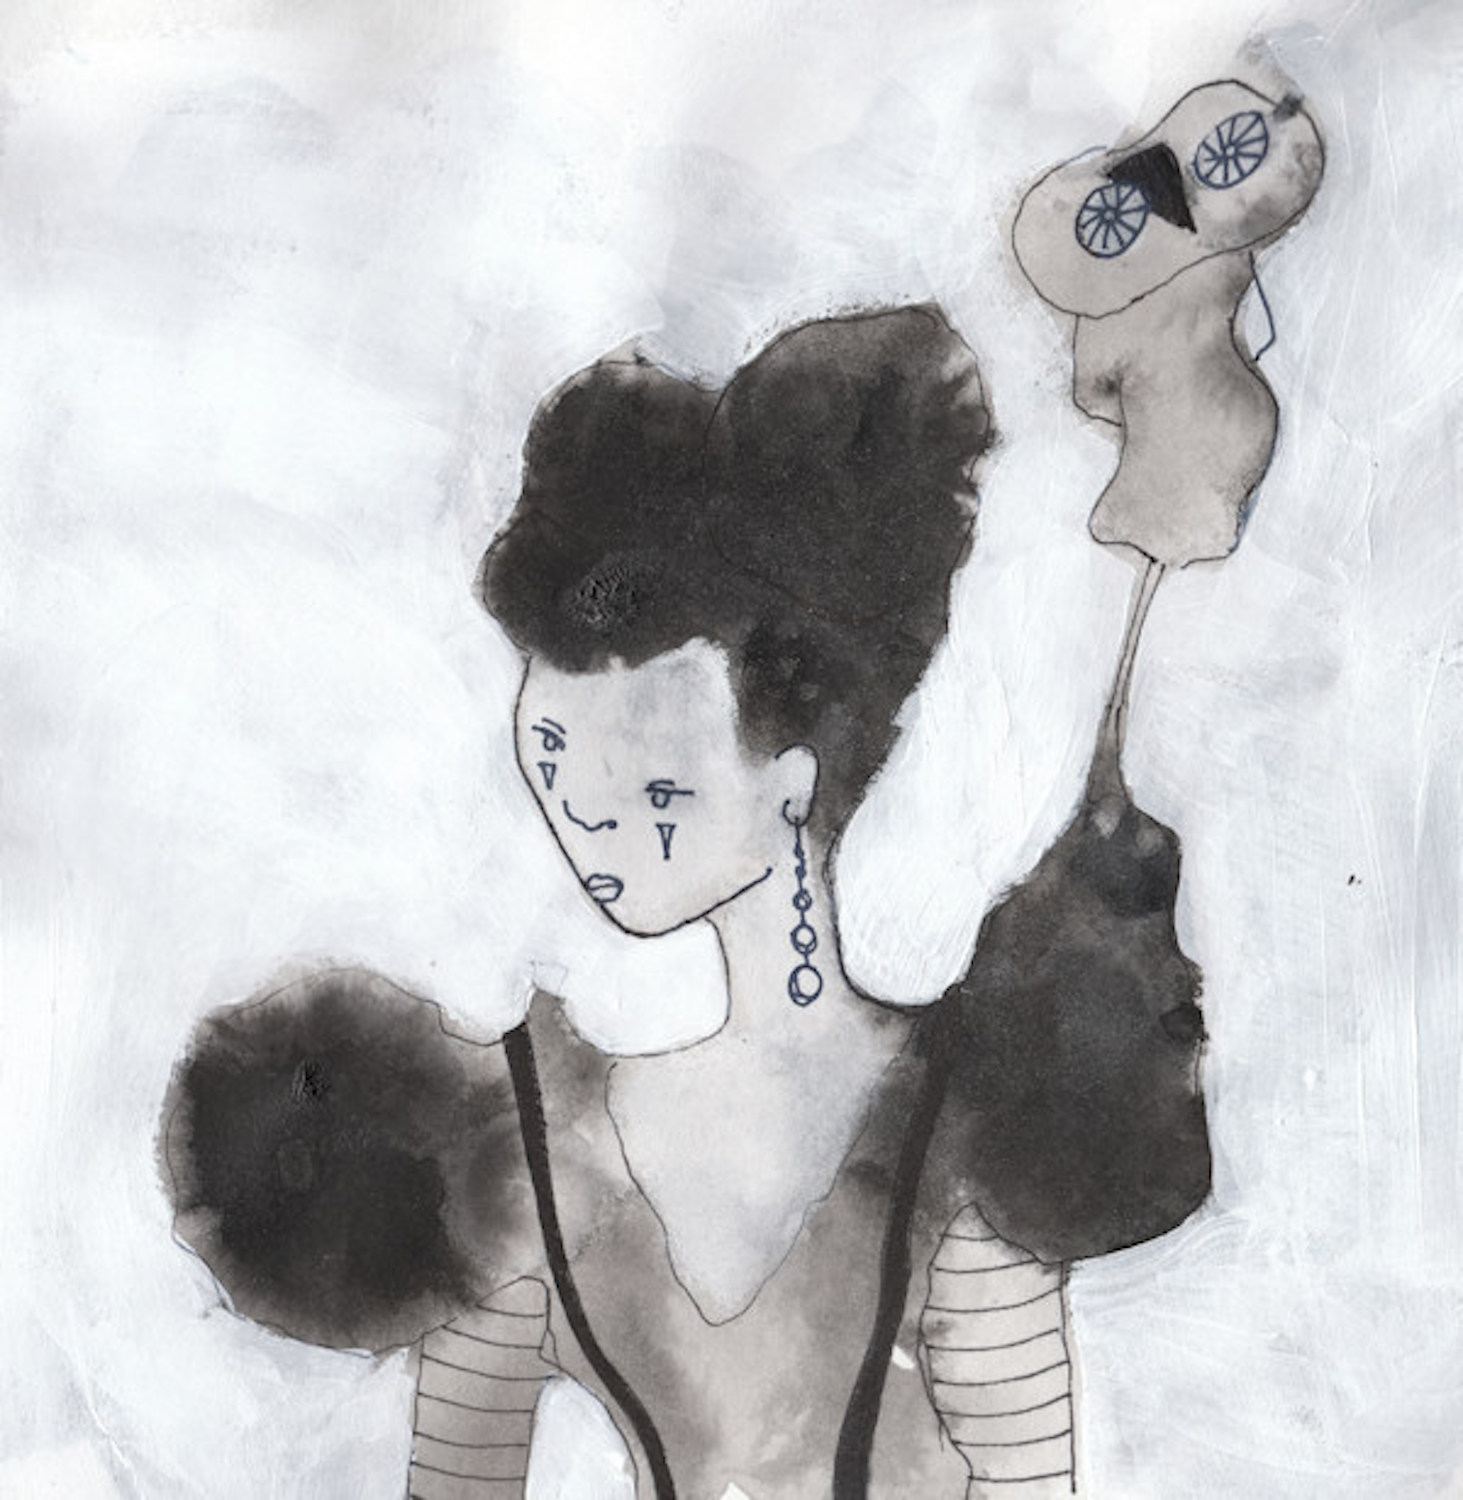
Instead of starting a project by developing its story, just start drawing and leave part of your concept to chance.
No Story Concept, No Problem
Many times we start with a big idea or story we want to tell in our art, but why not take the opposite approach and start with the drawing — without a developed concept in mind? This way, you leave some part of your piece to chance, and then look at what this drawing could mean for you it unfolds. Let’s give it a try!
Step 1: Start with an Abstract Background
Sometimes, it is nice to leave part of your art to chance. This makes the first steps of your art process more loose and free. For this tutorial, what you want to do is to look for shapes in random textures. Essentially, begin by making an abstract background. You are not trying to paint anything, but rather you are just having fun playing with paint.
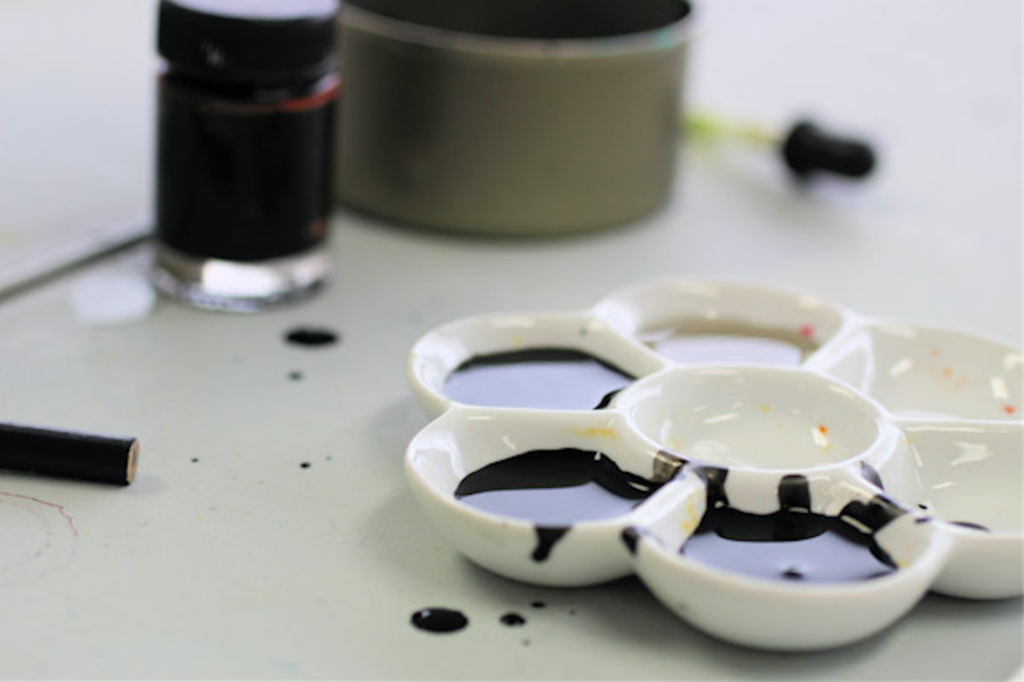
Indian ink is the perfect medium to paint an abstract background. It is very fluid, and it is also easy to make textures on a wet Indian ink wash.
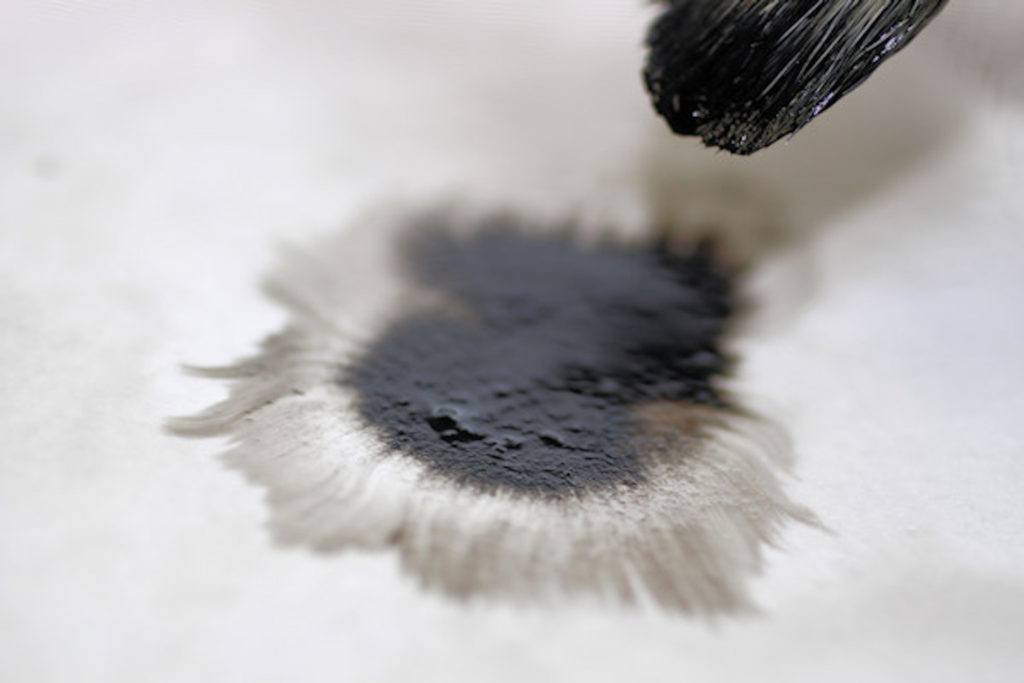
For instance, you can drop ink directly on wet paper (see image above).
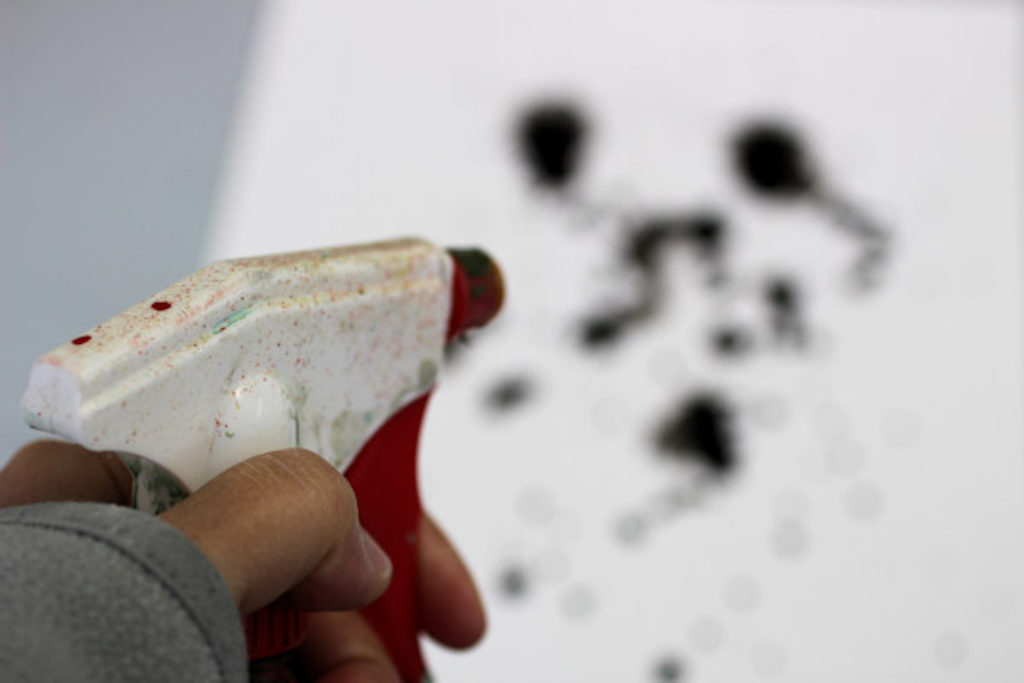
Another option is to spray water on a few ink droplets, so it splatters out onto the surface.
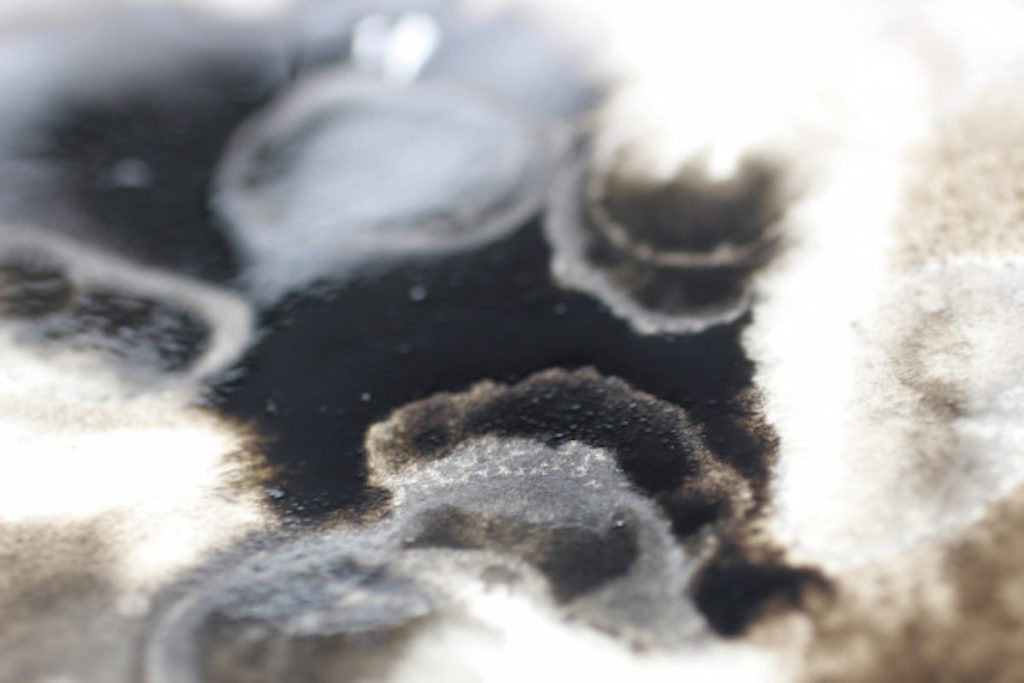
You can also add a few drops of alcohol on a wet Indian ink wash to get interesting textures, such as what you see in the image above.
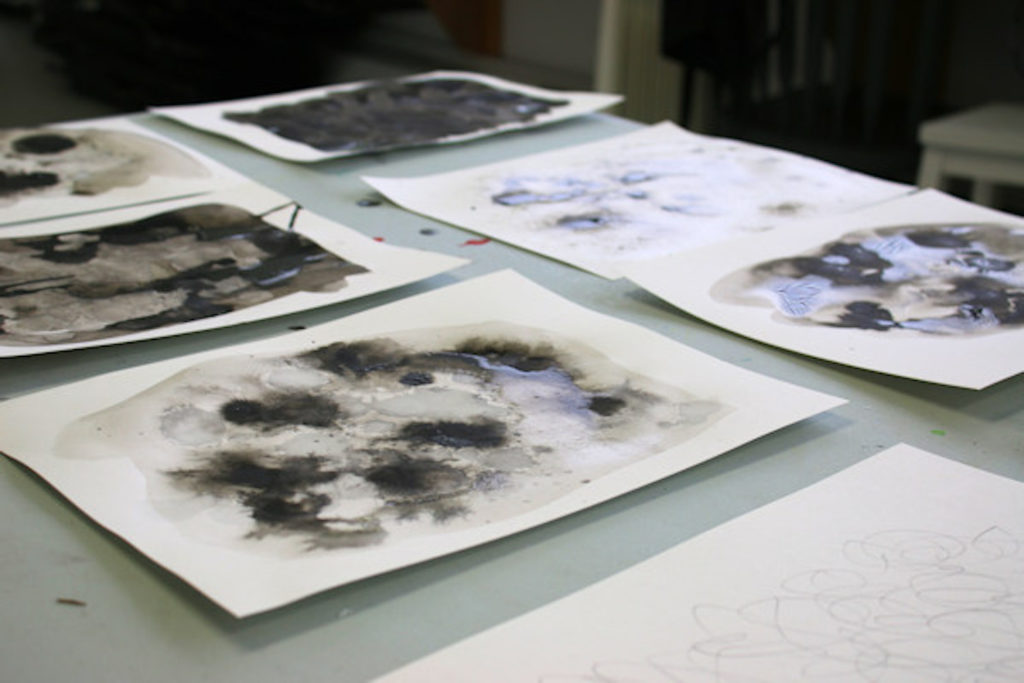
You can pretty much use any of your favorite techniques for adding texture to a wash. Once you have your textured wash, leave it to dry. Pro tip: If you want a few options for your “subconscious” drawing concept, try making several abstract background compositions since they are quick and easy to make. That way, you can choose your favorite to work from to complete the next steps.
Step 2: Relax and Work Intuitively
Once your textured wash, or washes, has had enough time to dry, it’s time to move on to the fun part! Look at your textures and point out any shapes. You can try to turn your paper in different directions so you can find more options.
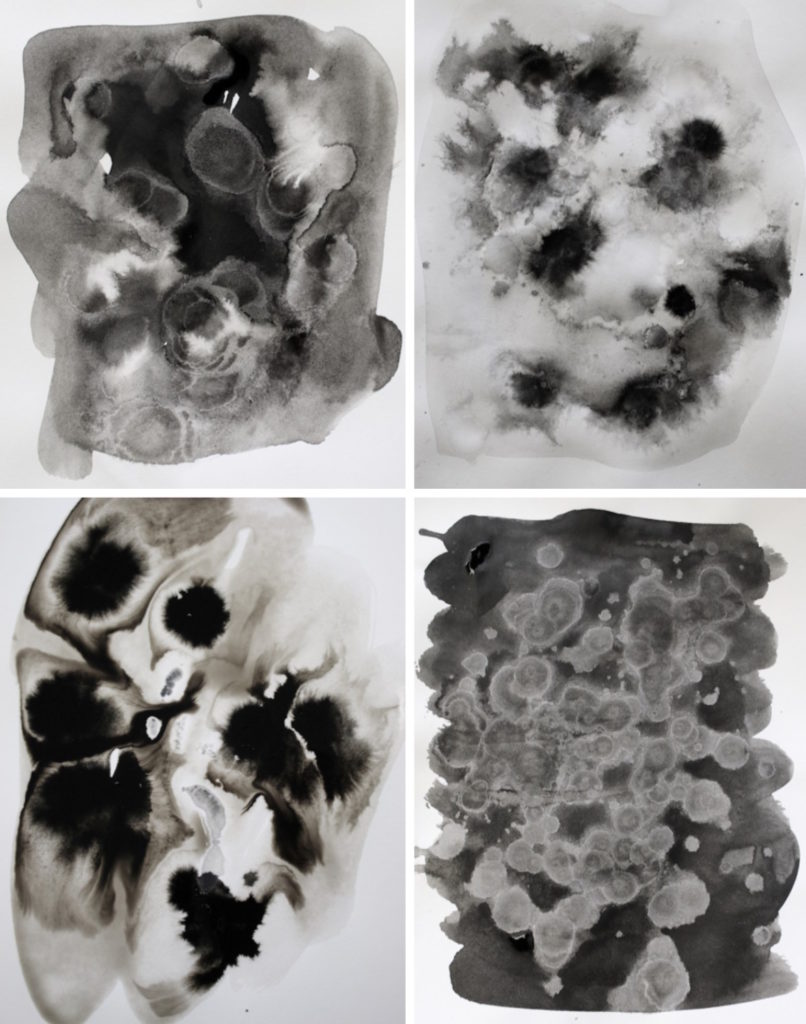
Many people see animals, underwater scenes, flowers or people. What’s important is to relax, and let your mind find the shapes for you.
Step 3: Outline the Contours of Your Shapes
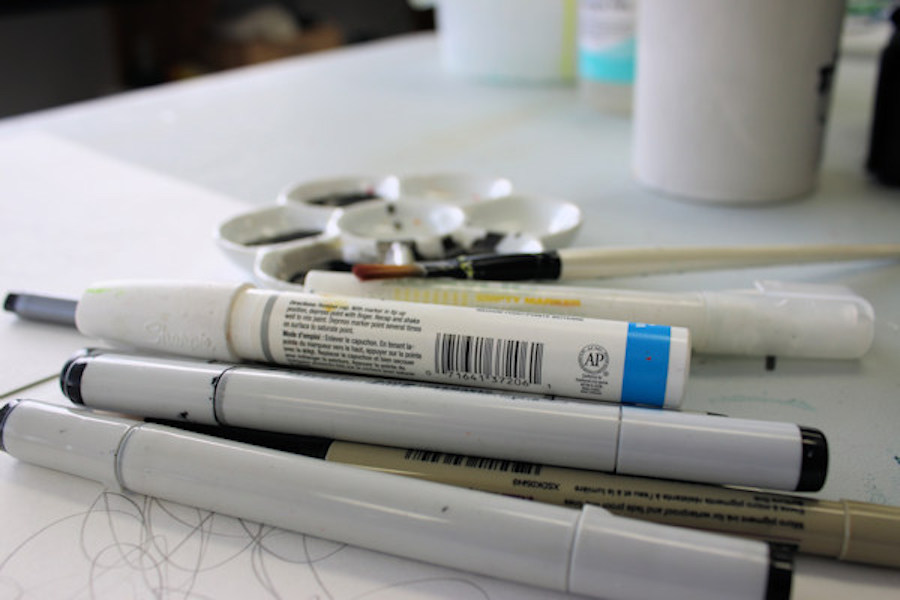
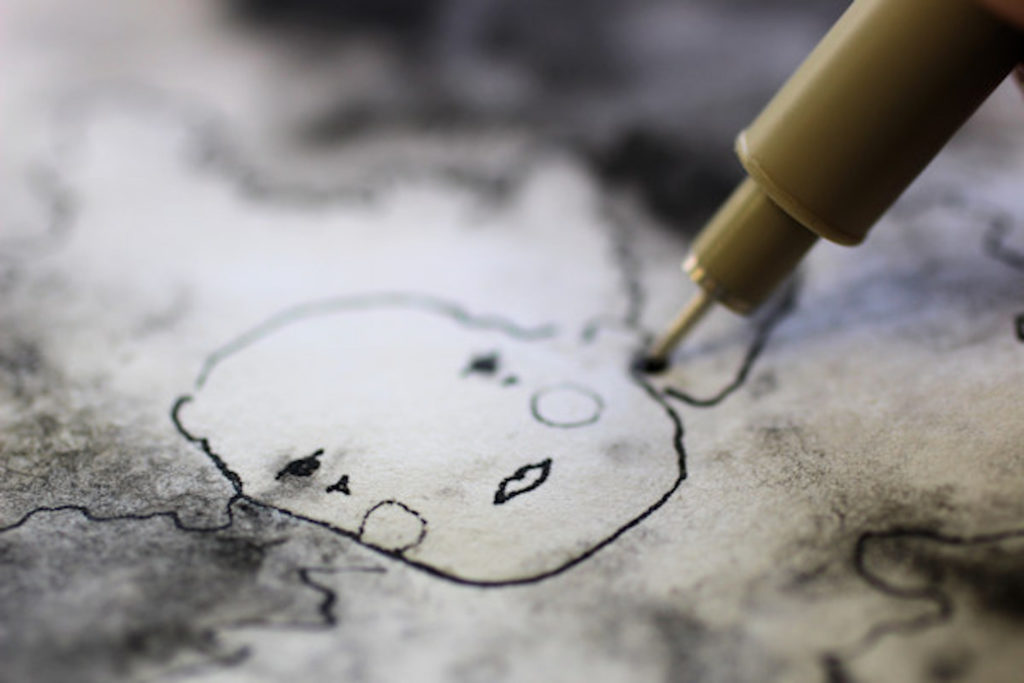
Once you start to see an object in your wash, outline its shape with a marker. You can use a black or white marker, depending on how dark your background is.

In the image above, I am outlining a face with a fine black marker.
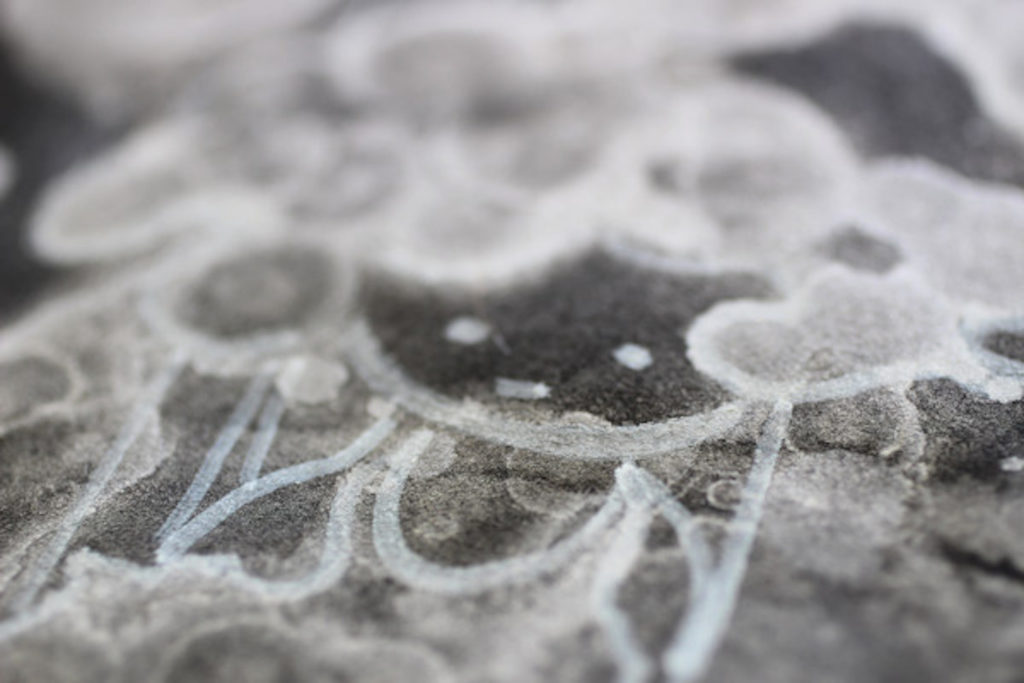
Here is a shape that reminded me of a doll or puppet. I outlined this one, since it is darker, with a white marker.
Step 4: Paint the Background
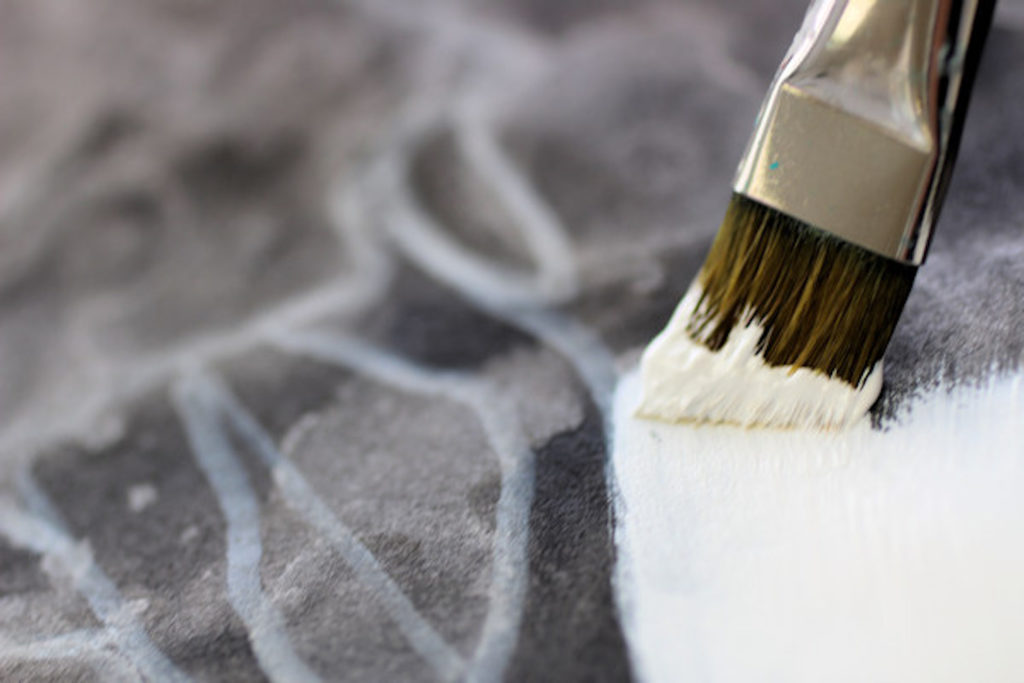
Once you have outlined your objects and shapes you want to keep, you can paint over everything else on the surface with white acrylic paint. Then let it dry.
Step 5: Make any Color Adjustments and Add Details
When your surface is completely dry, you can start to make any corrections and add details to your work. How simple or complex you decide to make your artwork is entirely up to you.
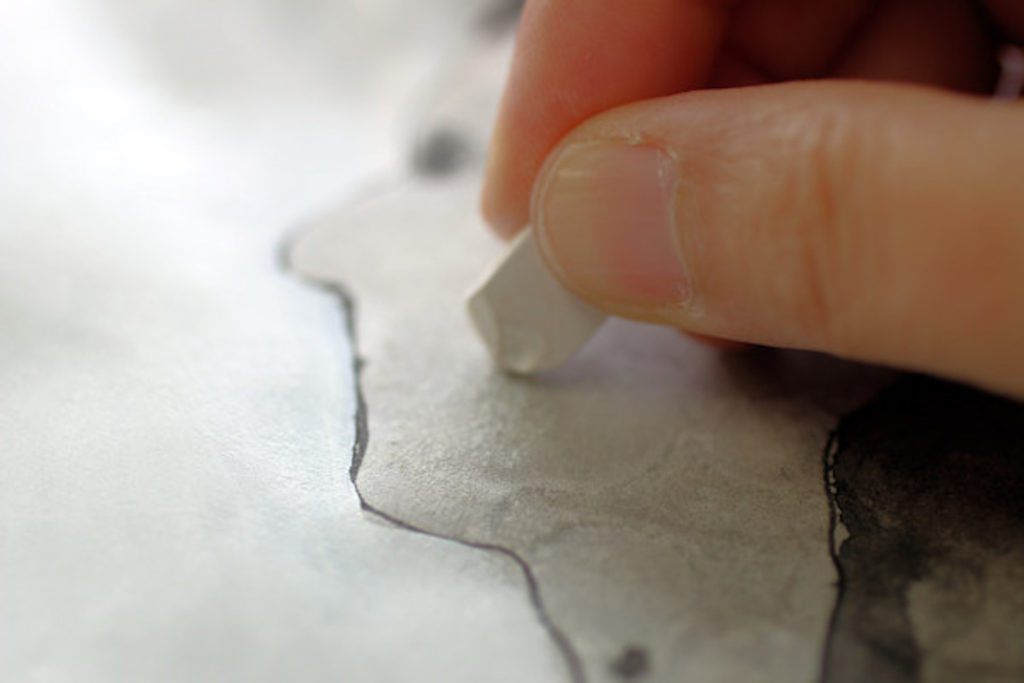
There are many media and techniques you could use to modify your piece. You can use black or white pastels, as I am doing in the image above, to modify any colors.
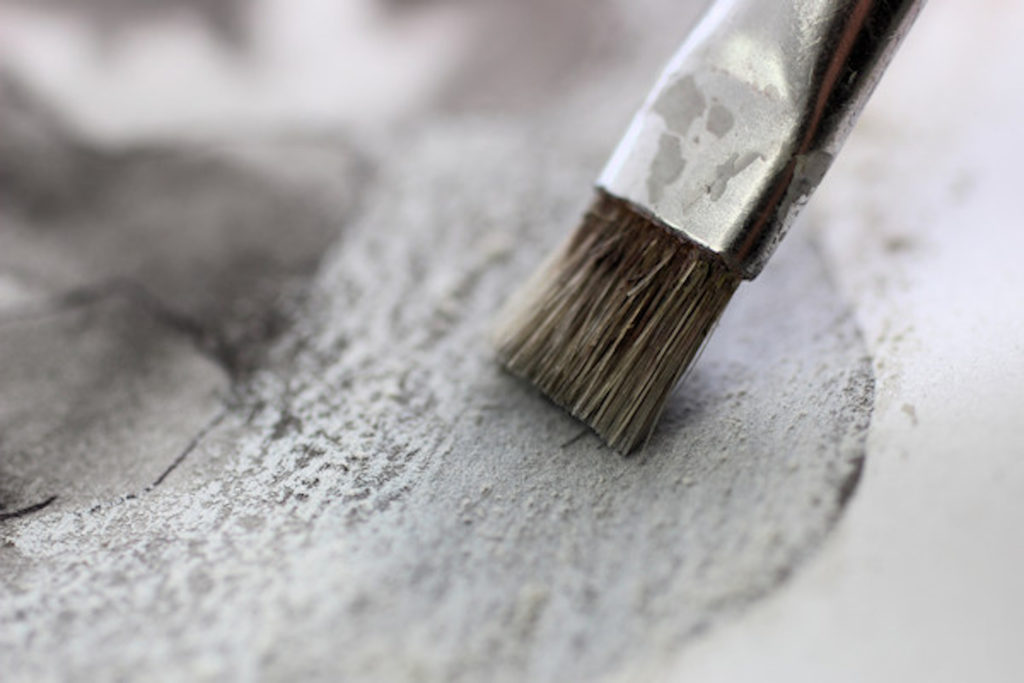
If you choose to work with pastel, you can smudge your marks with your finger, or use a stiff brush to add more texture to your work.
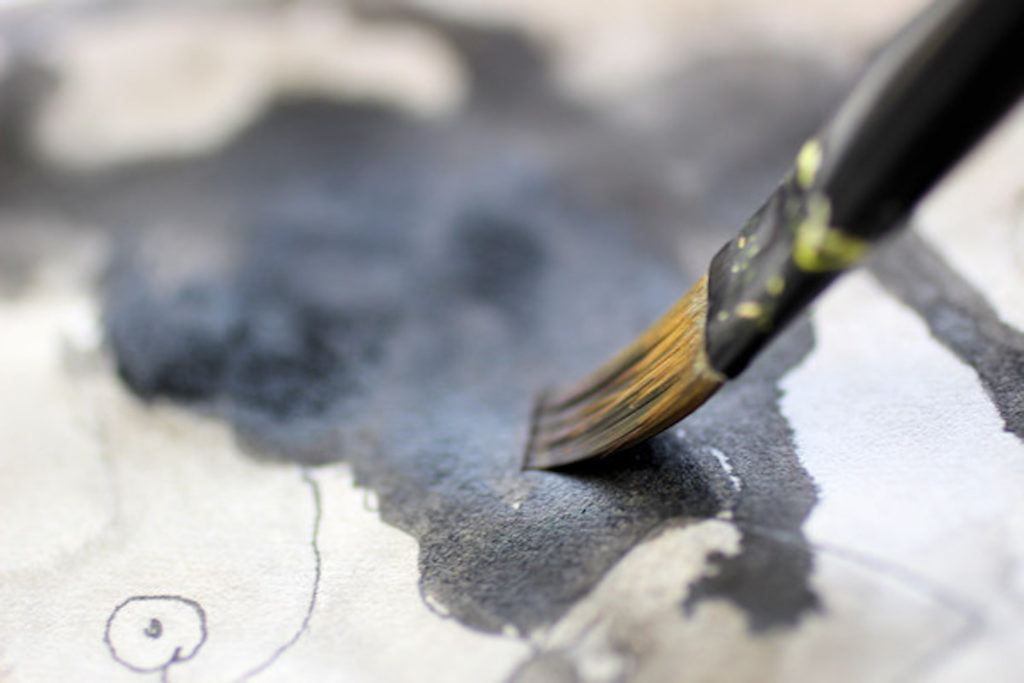
Additionally, you can add darker color to your work by painting over areas with more Indian Ink–or you can color in sections with marker.
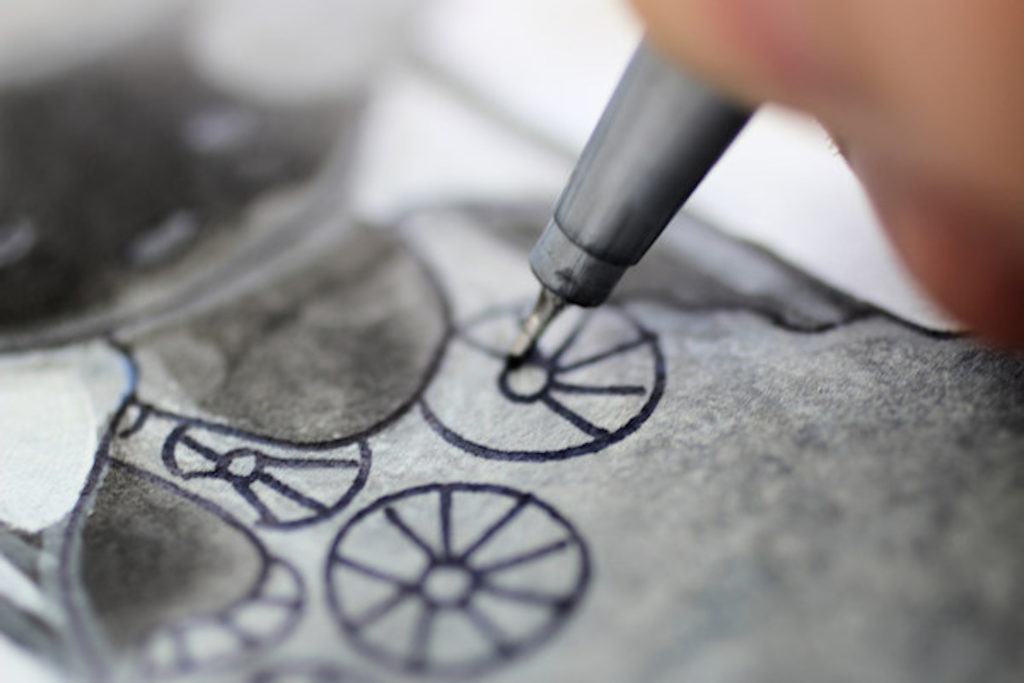
And have fun and experiment by adding lines, details and patterns to your shapes and objects with a marker. For this tutorial, I used white paint to cover the background, but you can also add some of this tips and details within the background, too!
Showcasing Your Subconscious Concept
What I like most about the drawing first and letting the concept unfold during the process as a technique is that it feels effortless. It is as almost as if the subject of the artwork was already there, but it just needed a little bit of help to be brought to life on paper. Below are a few examples of drawings I made using this technique. For some unknown reason, my subconscious seemed quite focused on circus and whimsical imagery this time around!
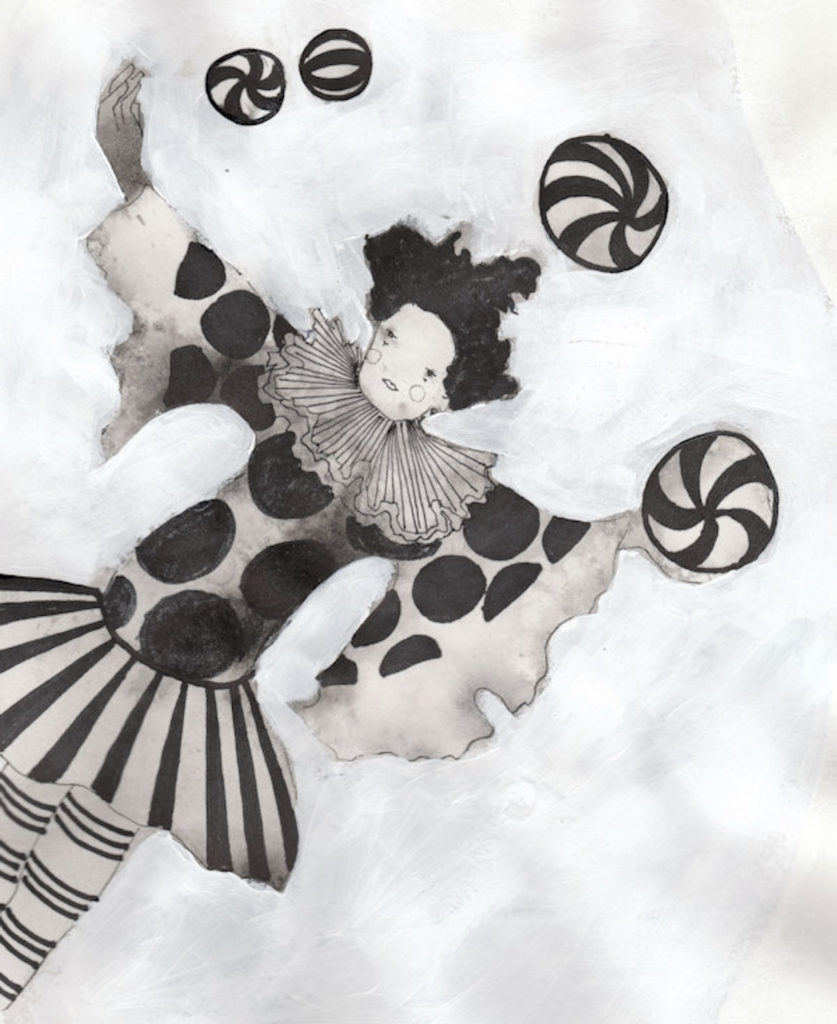
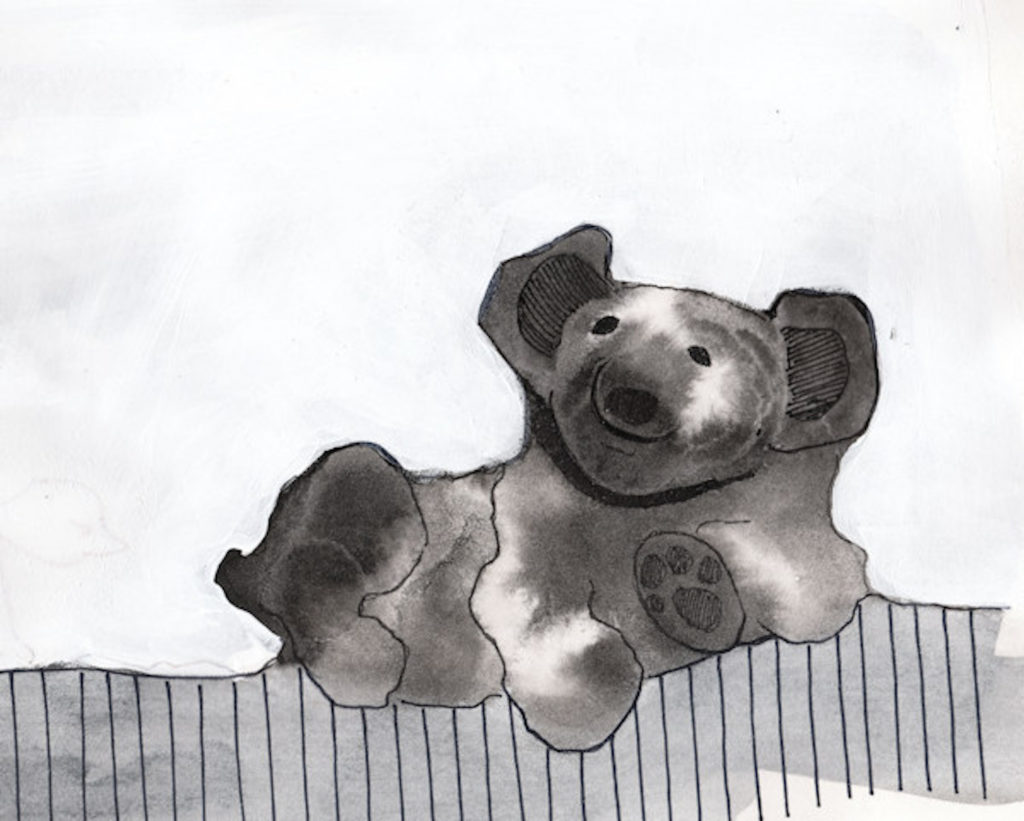
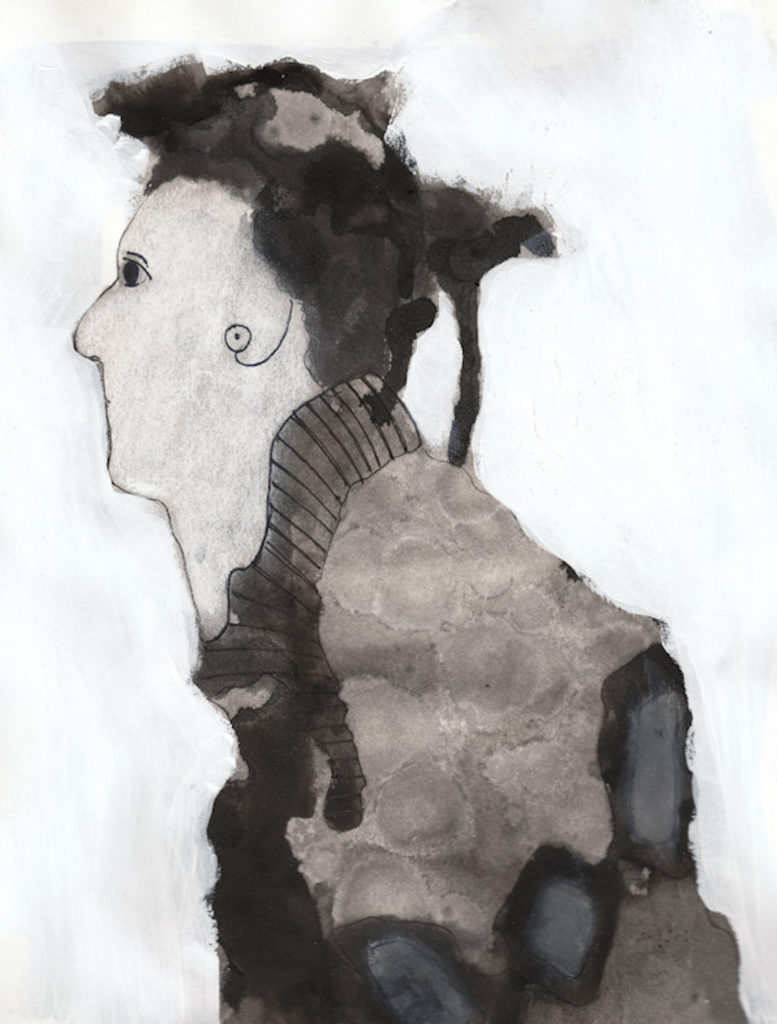
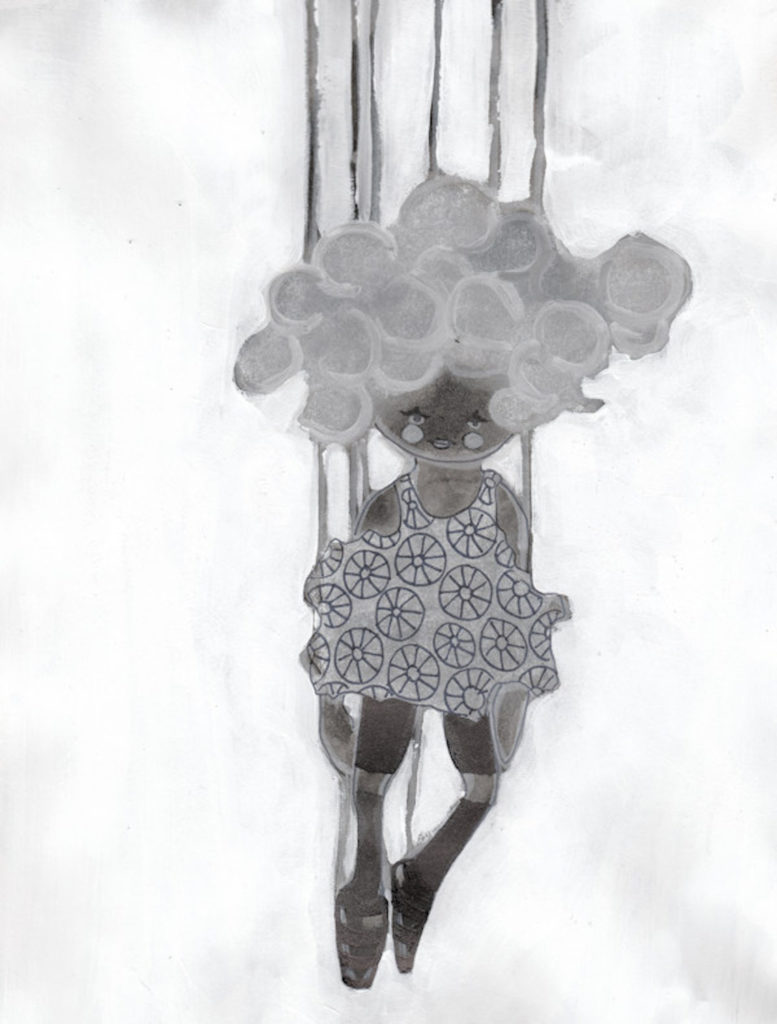
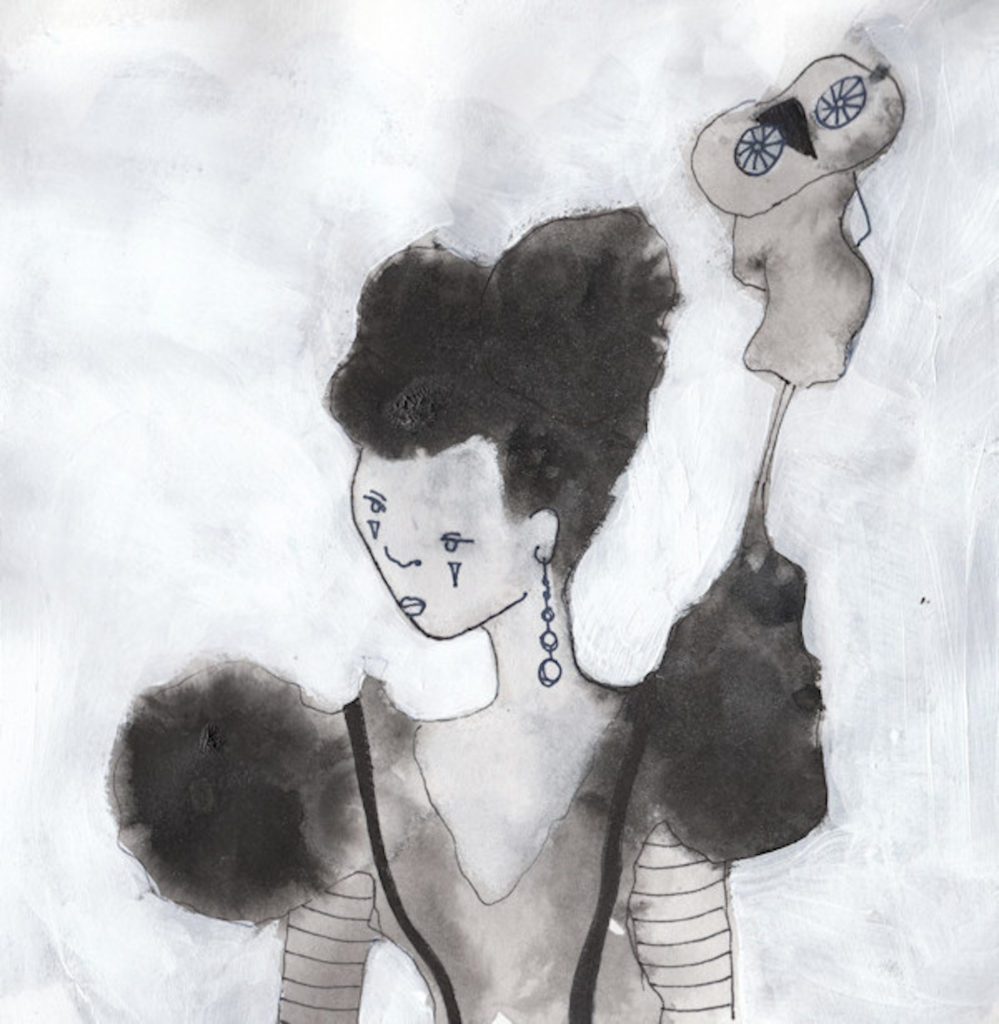
If you enjoy this technique and decide to try it out on your own, we would love to see your finished piece(s) on Instagram — don’t forget to tag @artistsnetwork!
Just what I needed to let loose!! Thank you for confirming what I already felt intuitively. Can’t wait to get to my art desk this morning. 🧑🎨❣️
I am glad you enjoyed the demo 🙂
Here is a list of the supplies I used:
– Paper: watercolor or mixed media paper. Arches would be a favourite (Hot press/300lb)
– Indian ink ( I used the Royal brand but any brand will work)
– Rubbing alcohol
– Flat brush
– White acrylic paint (regular bodied)
– Optional, to add patterns: pan pastels, dry pastels, Sakura pigma micron marker, white oil sharpie, Copic markers, Sakura white gelli roll…
So lovely and inspiring! What type of base paper did you use? Water color paper? brands you like? Can you give more information about brands of ink? brushes? etc? Am a beginner…and would love to find resources from one experienced… to start playing..
Thank you!
So happy to hear this post has brought you some inspiration! Happy painting, Anne!
Thanks so much for this. I just joined today and this is the first posting I checked. I have developed rheumatoid arthritis in my knees & wrists & fingers. During a flare-up I sometimes am not able to do the crafts I have done all my life. So I started investigating painting. Last summer I tried watercolor & acrylic painting. Doing okay at it. Recently I discovered acrylic pour painting. Your post shows me ways to use the pourings that I don’t really like as a stand alone picture. There is one small (3X3) pour that is ugly. I have thought of painting over it, but I can see a dragon head in there. I didn’t know how to bring it to life. Now I can’t wait to get into the studio and see what happens next. Thanks again for the inspiration.
Anne