Painting Light on Water
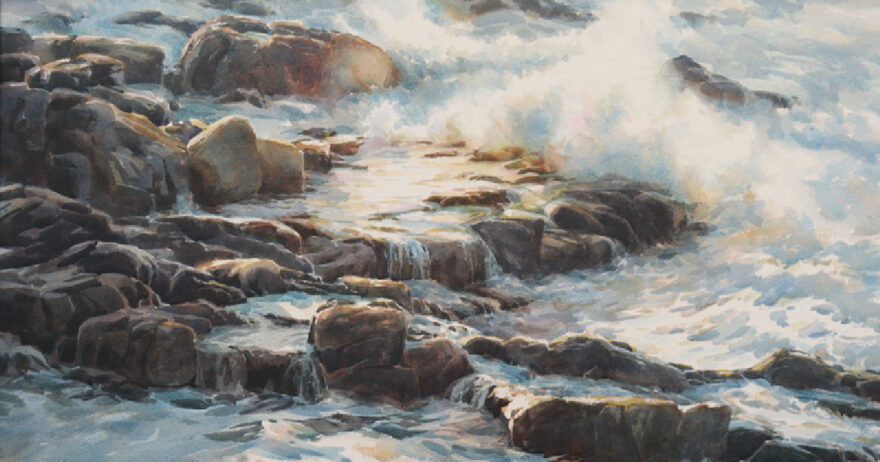
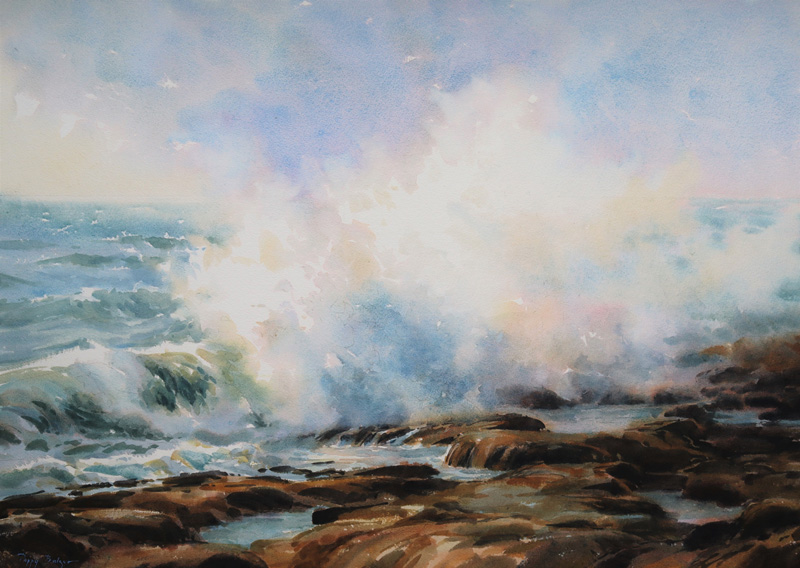
With the highest tides in the world, Nova Scotia’s Bay of Fundy is a wellspring of inspiration for artist Poppy Balser.
By Robert K. Carsten
“I think of watercolor as a medium for which the actual characteristics of the paint matter as much as the hues,” says Poppy Balser, a Canadian artist who’ll be offering instruction in the latest series of Artists Classroom @Home online learning events at ArtistsNetwork. “I love the ability to create soft edges and the suggestion of translucency. I like to let wet colors mingle on the paper for a shimmering sense of light.”
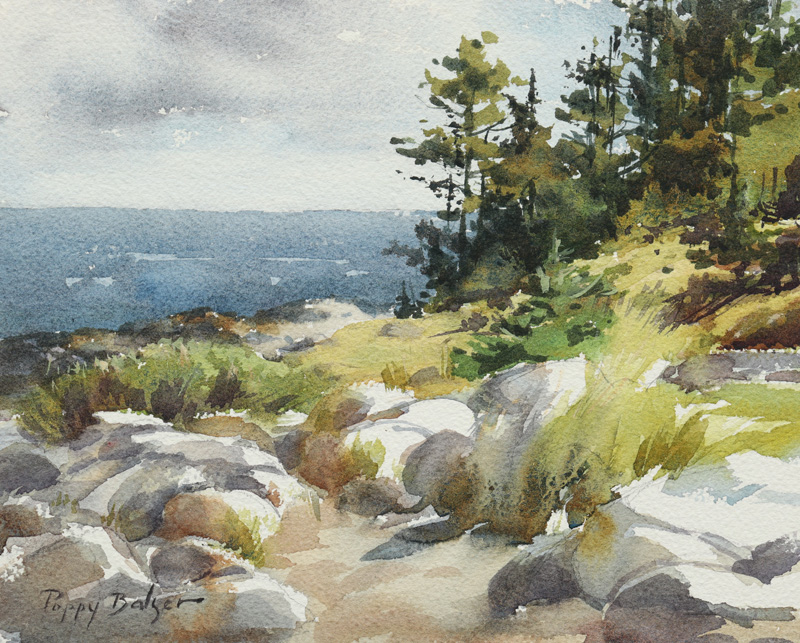
An avid plein air and studio painter, Balser works with separate goals for each practice. “My plein air painting approach,” she explains, “is spontaneous—reactive to the qualities of the light and atmosphere that I see. I attempt to suggest the intricacies of nature rather than exhaustively painting every detail within a scene. I paint with conviction and don’t attempt to hide brushstrokes and marks, but I also don’t mind when the marks run together and blur.” On the other hand, she describes her studio work as larger and more detailed. Still, she aspires to make the studio painting as fresh and simplified as her plein air work. “It’s an evolving process,” she says, “since something in my nature also demands precision and accuracy. So my studio work is an act of balance between a more studied approach and getting the paint to say what I want it to say without overstating it.”
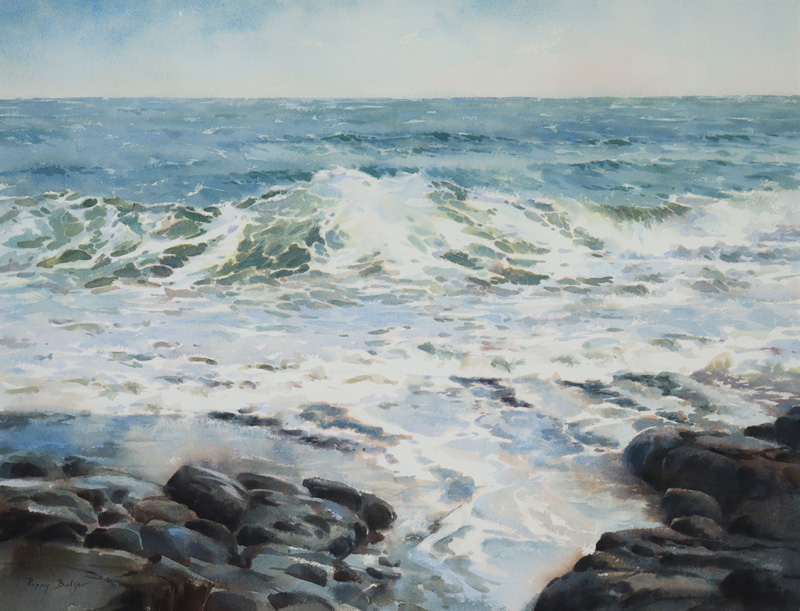
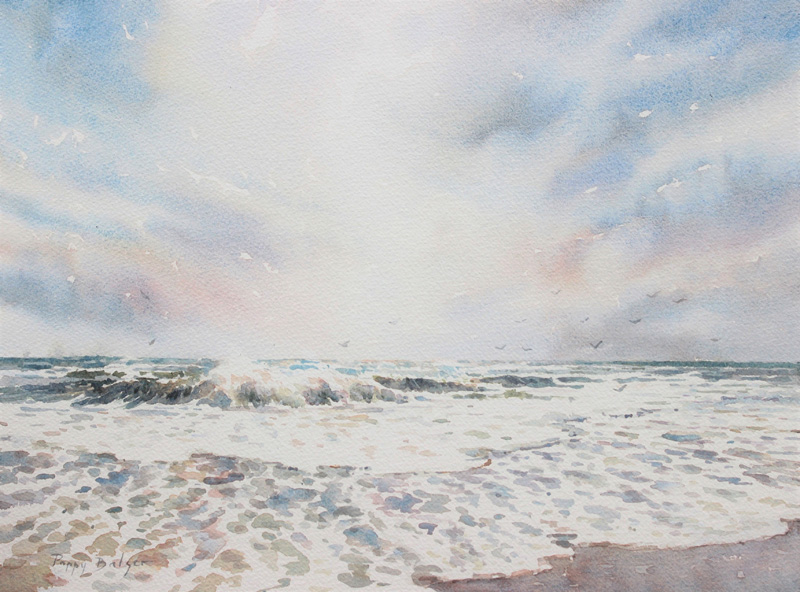
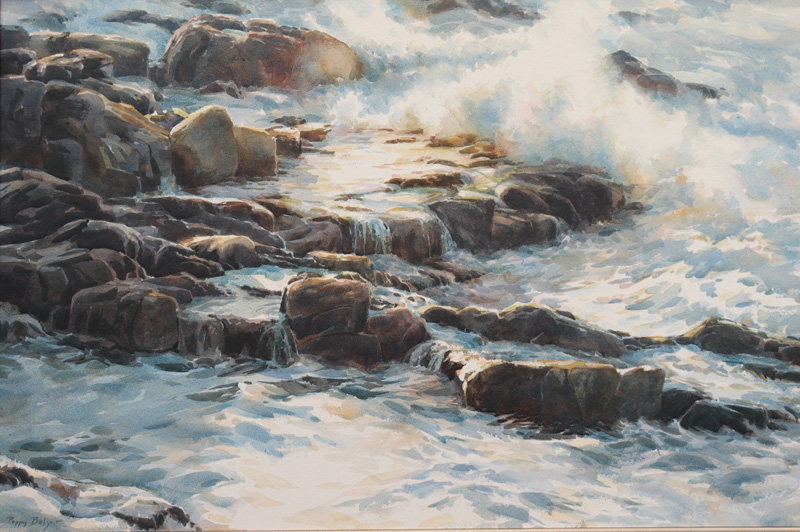
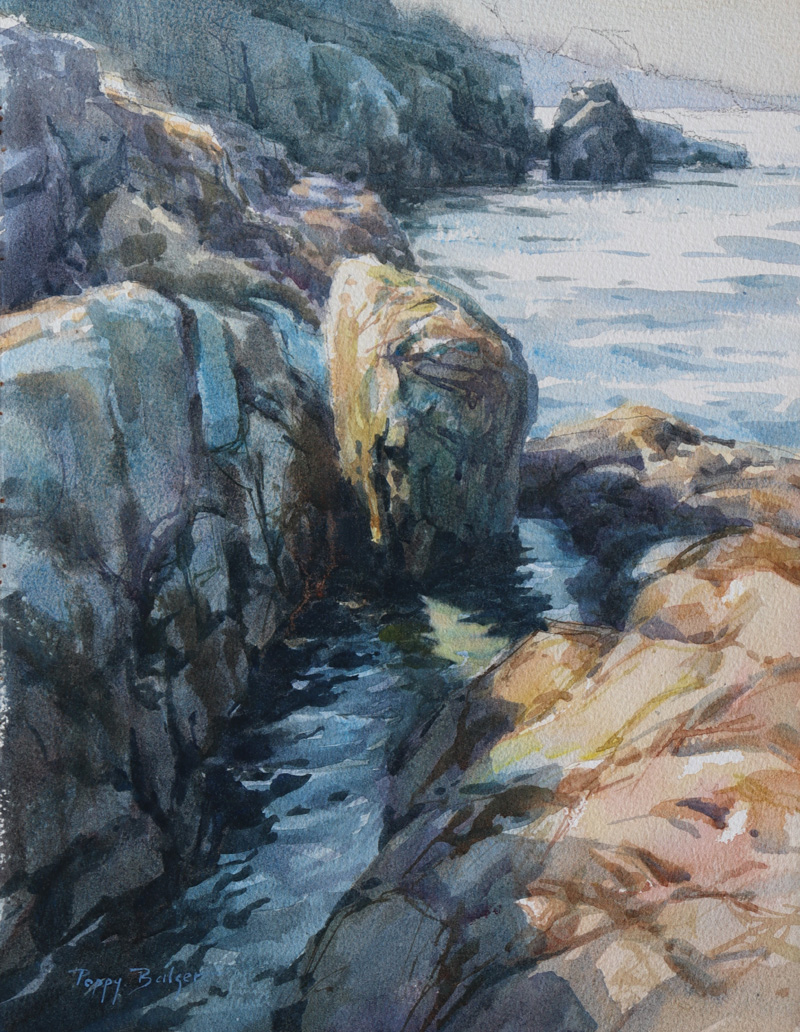
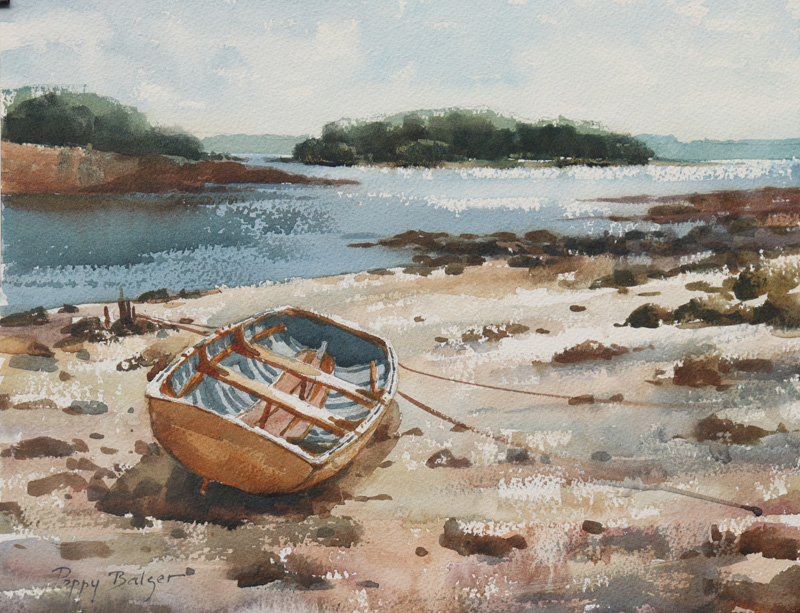
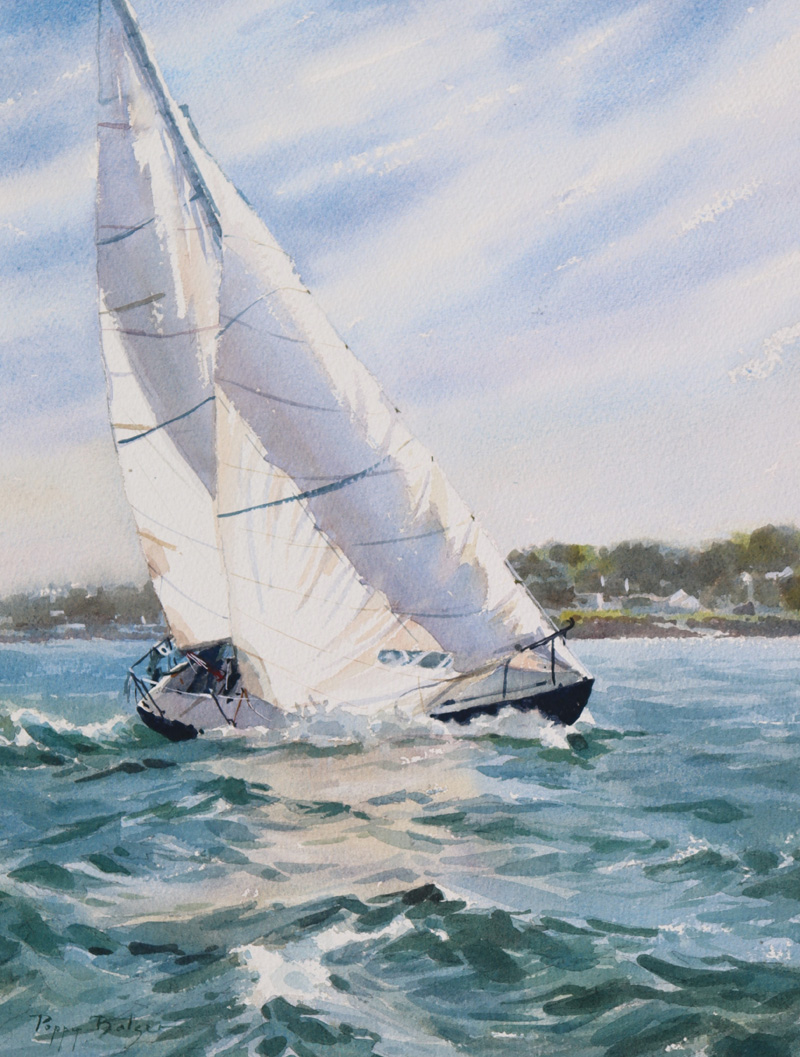
Balser was raised in New Brunswick and now lives on the other side of the Bay of Fundy, in Digby, Nova Scotia, so she has spent many years observing the sea. “I enjoy simply watching water move—waves coming in, reflections rippling gently, streams flowing to the sea,” she says. “It all captures my attention and imagination.” It’s not surprising, then, that many of her paintings are inspired by the interaction of light on water.
See how the artist develops one of her seascapes in the following demonstration.
Watercolor Demonstration: Wave Patterns
By Poppy Balser
I find that preparatory thumbnails, color studies, and value studies allow me to launch into a studio painting with a good sense of what’s needed and a fair amount of assurance. The trick is to avoid overworking the piece.
Step 1: Wanting to create a studio painting with a spontaneous feel, I loosely penciled in basic shapes. Then I applied the first wash of blue with a ¾-inch flat brush. While the paint was wet, I added notes of raw sienna and a purple made with cobalt and quinacridone rose, using separate ½-flat brushes for each color.
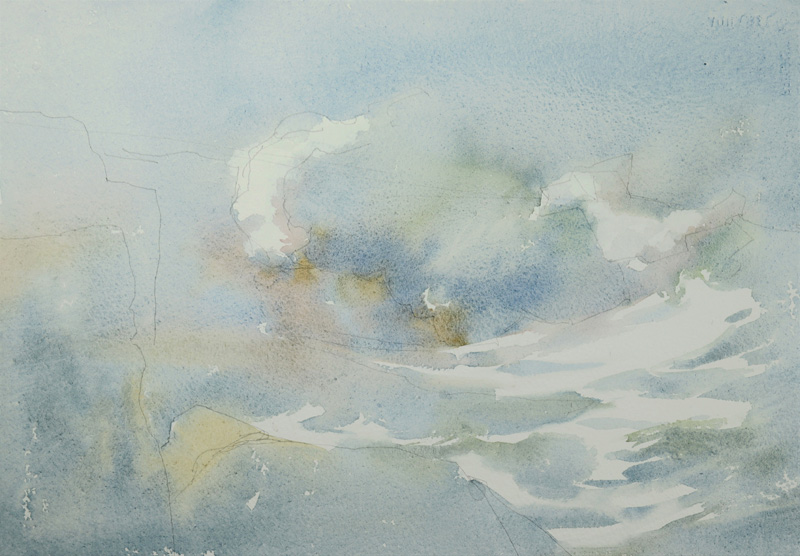
Step 2: Preferring to work wet-into-wet so colors mingle and create soft edges, I mixed puddles of colors as far in advance as I could. I further developed the headland, rocks, crashing waves, and pool of water. I used a mixture of raw sienna with a touch of quinacridone rose as edging against the cooler shadows in the water, creating a sense of sunlit glow.
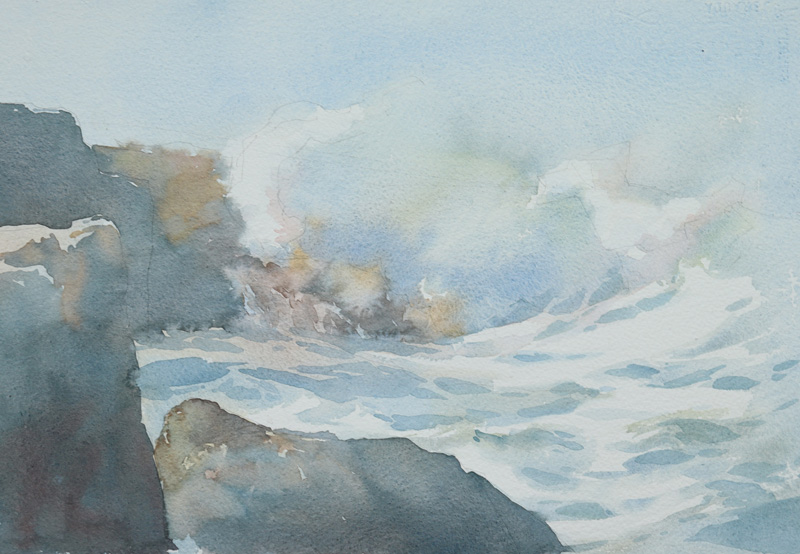
Step 3: Applying more mid-tones, I strengthened the contrast and color saturation throughout the painting and began applying darks, especially to the rocks and rivulets of water falling between the rocks.
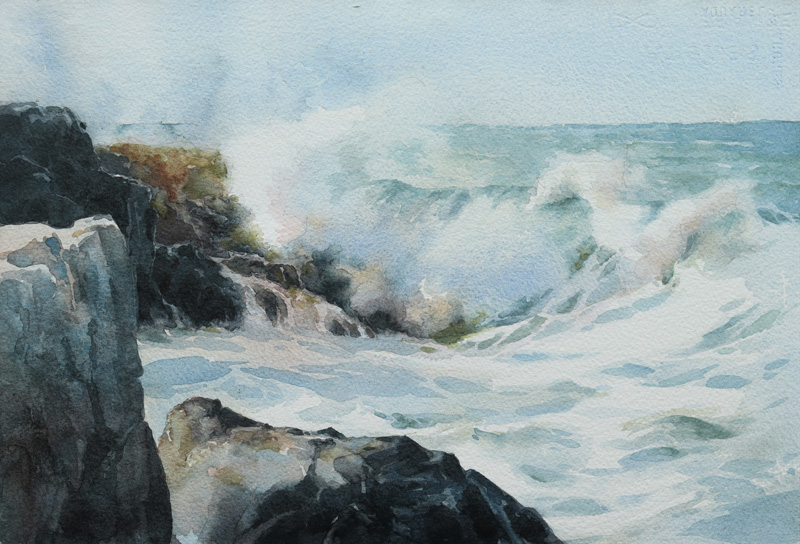
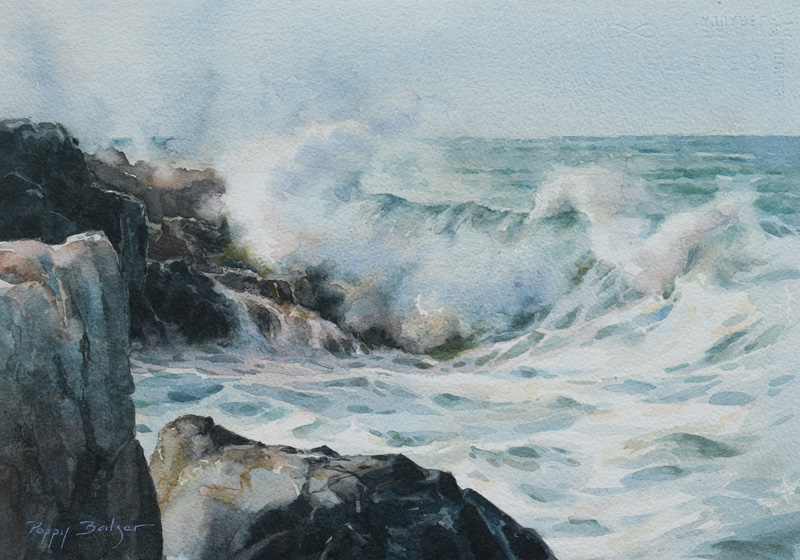
Final Step: I decided I didn’t like the straightness of the sienna-colored top edge of the back rock. Using a Rosemary and Co Eradicator brush, I lifted the color and proceeded to repaint the edge, making it a more interesting shape. I added my final darks and a few fine lines in the rocks to complete Wave Patterns (watercolor, 10½x14).
The Artist’s Toolkit
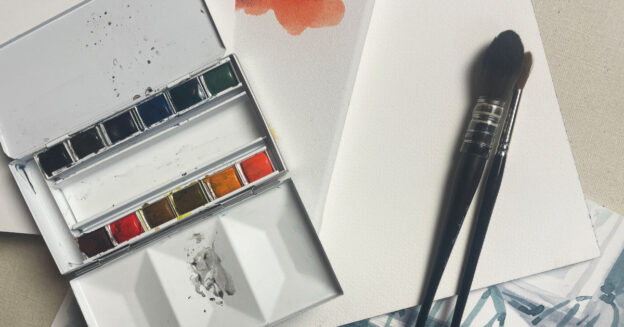
Paints: Daniel Smith watercolors: raw sienna light, Hansa yellow medium, cerulean blue, and, sometimes, sodalite genuine for value studies; Michael Harding watercolors: quinacridone rose, ultramarine blue, cobalt blue and, for value studies, burnt sienna mixed with ultramarine blue.
Surfaces: Arches 90-lb. rough watercolor paper for value studies and Arches 140-lb. rough watercolor paper for final paintings. I don’t stretch or presoak the paper because that tends to loosen the sizing, resulting in dulled colors.
Brushes: Rosemary and Co. series 7320 sable long flat brushes, sizes 1/4-, 1/2- and 3/4-inches, plus an Eradicator brush; Cheap Joe’s Lizard’s Lick pointed round; and assorted small rounds and a round squirrel mop.
Mounting: Preferring not to use glazing and mats when framing large works, I mount my paintings either to Gator Board or, for very large works, to specially made cradled plywood panels. I prime the wooden panels with three coats of Golden GAC 100 acrylic sealer, letting each coat dry for 24 hours. I then apply Golden semi-gloss regular gel to the wood with a palette knife, lay the paper on top, and smooth the paper onto the board with a brayer. For plein air work, I prefer to mount the paper beforehand. In the studio, I often clip the paper to a board, later mounting the painting. When the painting and mounting are complete, I’ll apply three sprayed coats of Golden satin MSA archival varnish. After the varnish dries, I apply two to three light coats of Gamblin cold wax or Dorland’s wax medium, buffing it gently with a paper towel. I place small works in plein air frames; I frame large works in floaters.
Meet the Artist
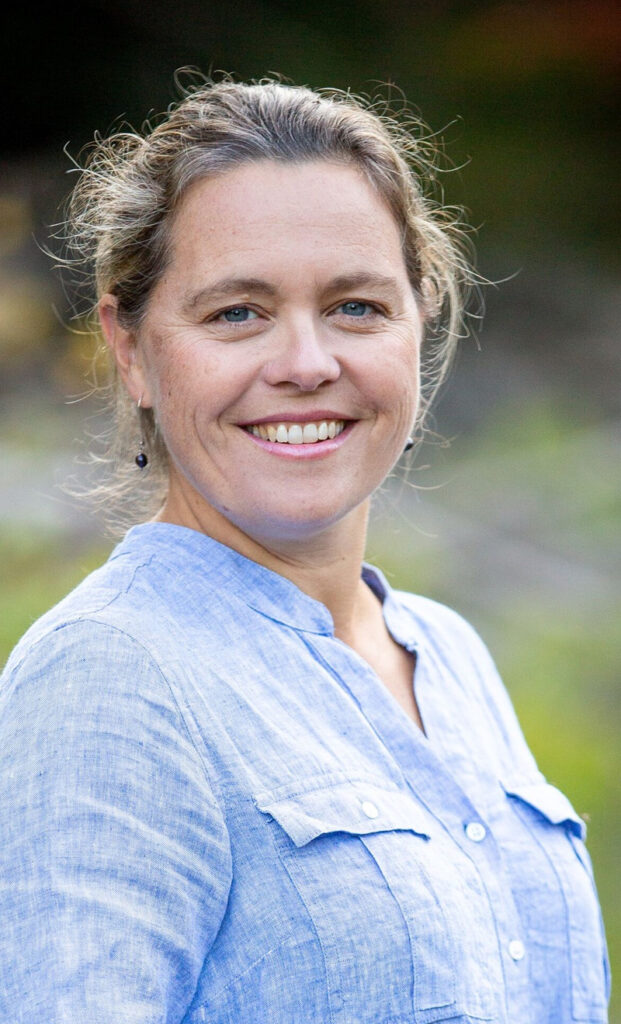
A Signature Member of the Canadian Society of Painters in Watercolor, the American Society of Marine Artists, and other artist’s organizations, Poppy Balser has won top awards at many plein air festivals, including numerous best-in-show and first-place prizes. Her work is widely collected and exhibited at galleries in Nova Scotia and Maine.
Don’t miss the opportunity to learn directly from Poppy Balser in our Artists Classroom @Home sessions on ArtistsNetwork. Learn the ins and outs of watercolor painting, and practice along with the artist as she offers instruction on painting water and rocks, mist and fog, harbor scenes, and more! Learn more about the Artists Classroom @ Home events.
From Our Shop





Join the Conversation!