Demo: Making Waves in Water Soluble Graphite
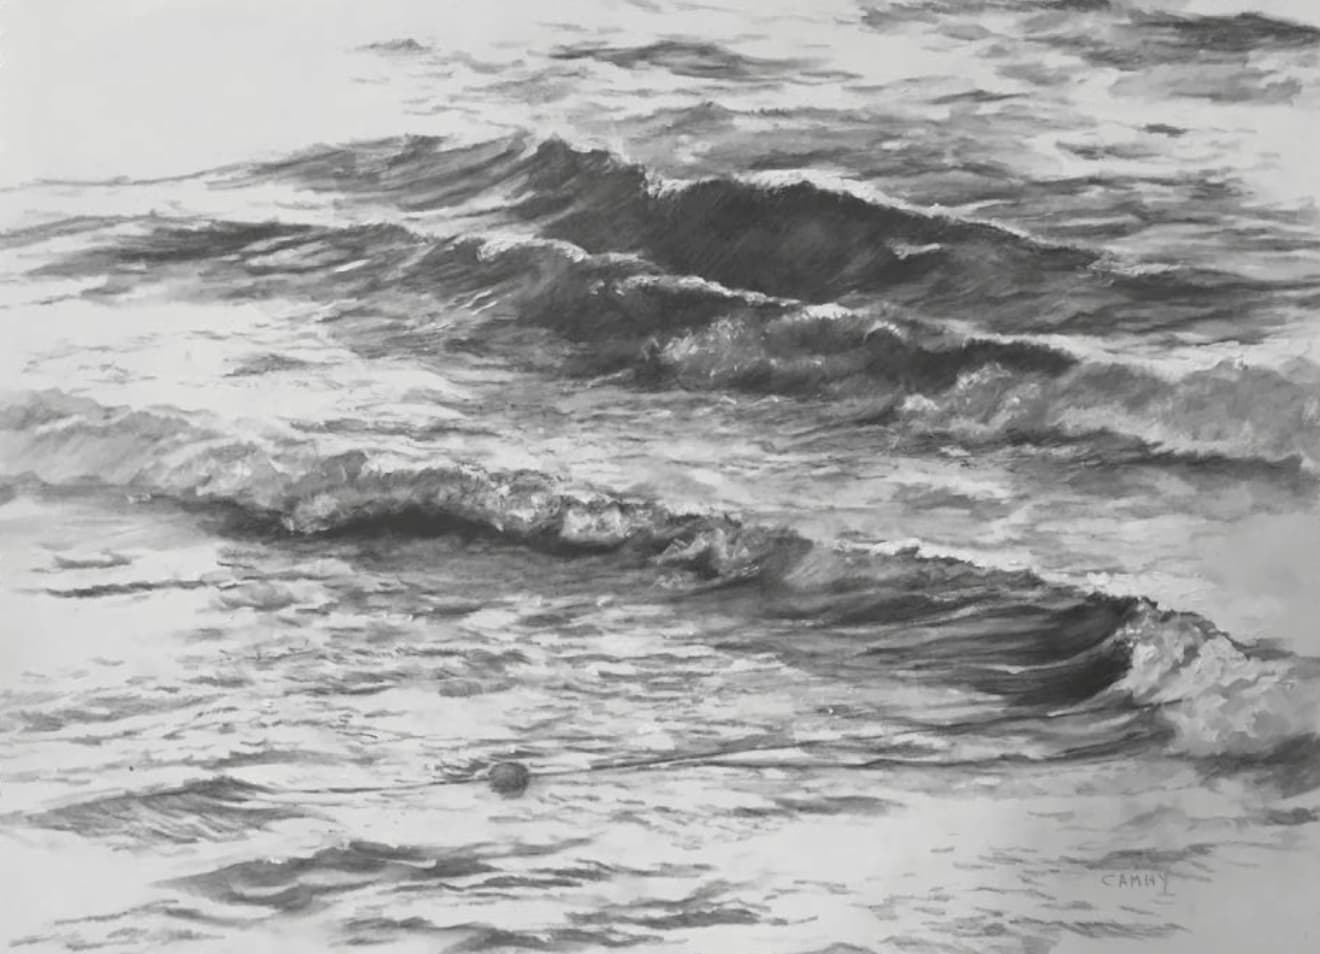
Water soluble graphite pencils can turn into paint as if by magic — just add water. Watch the excitement unfold with this water-inspired demo for drawing waves.
By Sherry Camhy
The Magic of Water Soluble Graphite
We are living in an age of wondrous new art materials. When I buy my supplies these days I feel like a kid in a candy store. One new material of great interest to draftsmen is water soluble graphite. The Old Masters were amazed at the invention of graphite pencils. Imagine how thrilled they would have been with pencils that can turn into paint as if by magic.
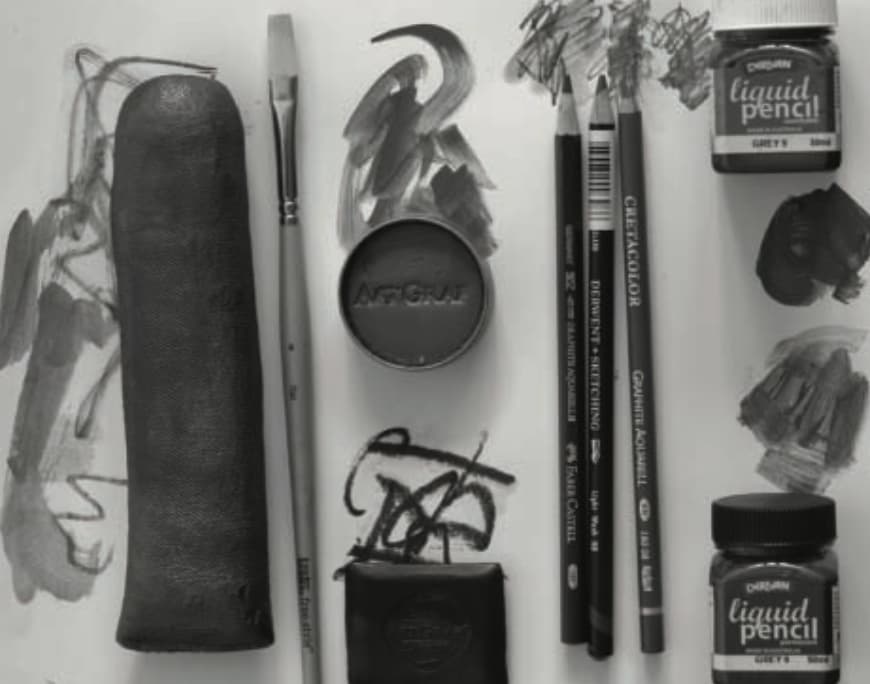
Water soluble graphite is available in degrees ranging from HB to 8B. It is sold in pencils, as well as in stick, pan, and liquid form. The pencils work beautifully with or without water. When dry, they feel velvety smooth as they glide over paper. They make deep rich darks, and they are erasable like normal pencils. But add a drop of water and the graphite turns inky black and can be applied and manipulated with a brush.
Mixed-Media Applications
I find the concept of combining and experimenting with materials impossible to resist, and water soluble graphite lends itself to many mixed-media applications. It can be used with ordinary pencils and other forms of graphite and also with watermedia paints, colored pencils, crayons and acrylic inks, among other media. A particularly interesting possibility is to use water soluble graphite in tandem with pastel for a very painterly drawing approach — but that’s a topic for another article.
The possibilities offered by water soluble graphite are multitude, but you’ll want to carefully consider how and when to use it. It may at first seem like the perfect medium for artists who want to move from drawing to painting. When I first tried it, my instinct was to complete a carefully rendered drawing in the traditional manner, then add water, pick up a brush and start painting. And I’m sorry to report: That’s what I did.
Choose Your Paper Carefully
I spent a long time working on a drawing, and I was proud of the result. Then, with high hopes and great expectations, I began to brush water onto the drawing. But with each brushstroke, parts of the drawing started to roll like teardrops down the page. I was working on a vertical easel on a very slick piece of paper. Disaster! Luckily I had at least taken a picture of my drawing before I ruined it.
The lesson I learned was that when something looks too easy to be true, it probably is. Another, more concrete lesson: Choose your paper carefully. If it is too absorbent, too much liquid will get sucked into it and when
you try to rework an area the paper will turn to mush or pill like an old sweater. If the surface is too slick and smooth, liquid can puddle or run down the page.
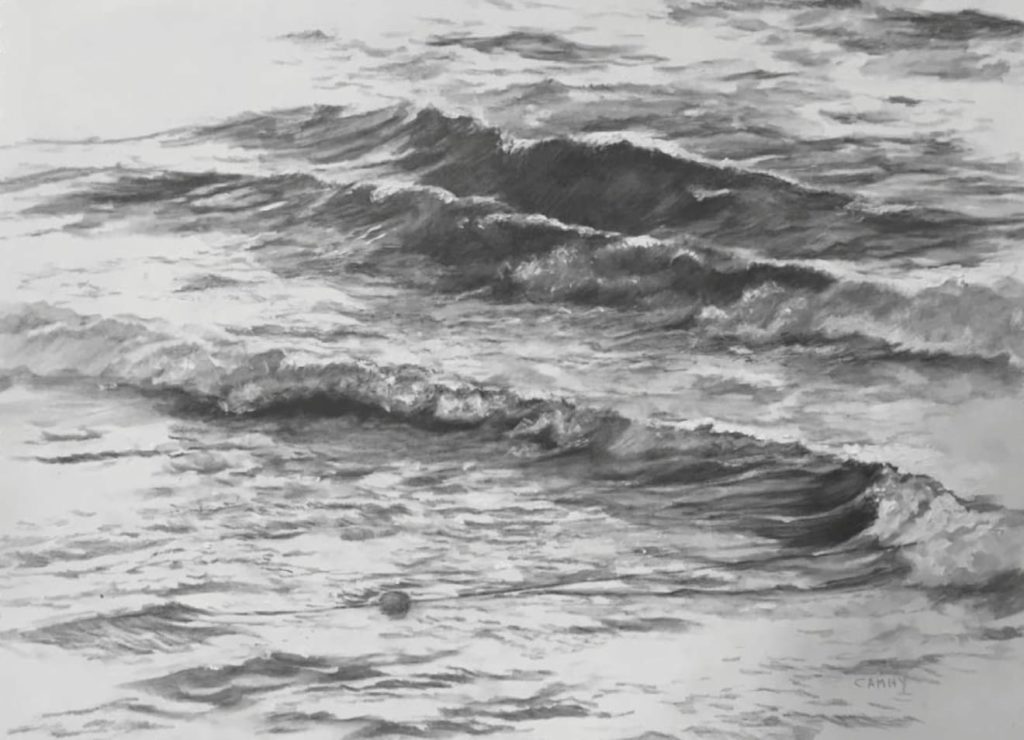
Having learned these lessons, I chose a medium-texture illustration board for my drawing Making Waves, featured in the following demonstration. I also chose a subject that did not require the kind of control that others might, allowing me to play with my new medium with a sense of freedom.
Drawing Demo: Making Waves
Step 1
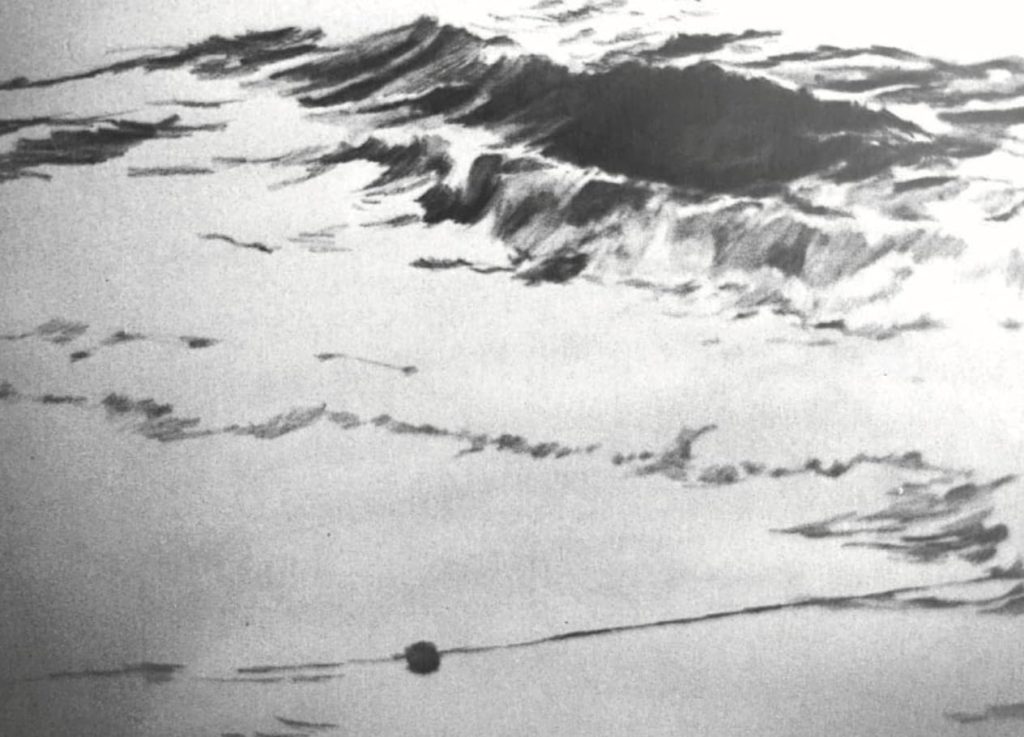
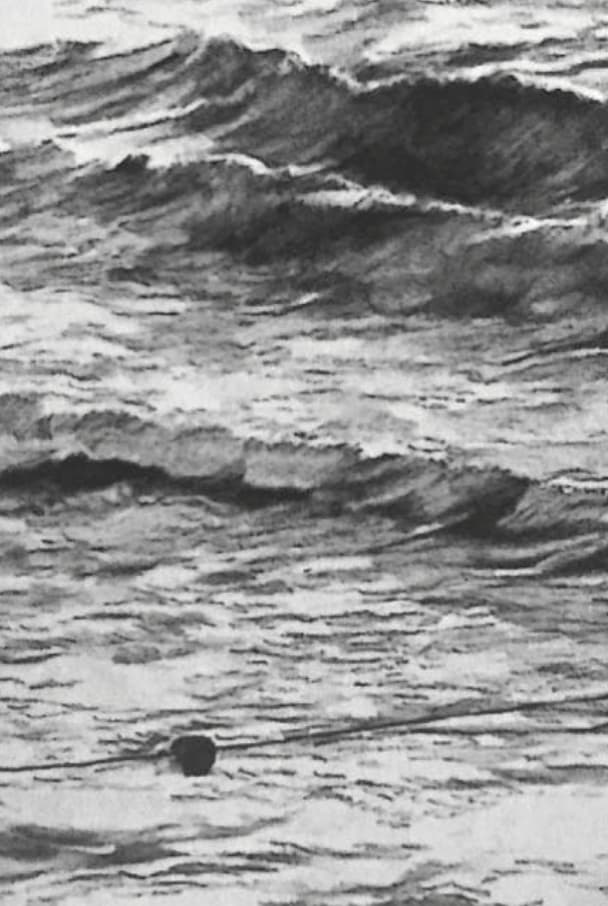
I began this drawing using a dry 4B water soluble pencil from Faber-Castell, working on a medium-texture illustration board. I first placed the large cresting wave — the image’s most important compositional element — in the upper-right corner. I pressed hard enough on the dry pencil to assure that the wave would be the darkest aspect of the drawing. I drew the small buoy almost as dark and clearly indicated its line, which I wanted to act as a counterbalance to the diagonal movement of the water.
Step 2
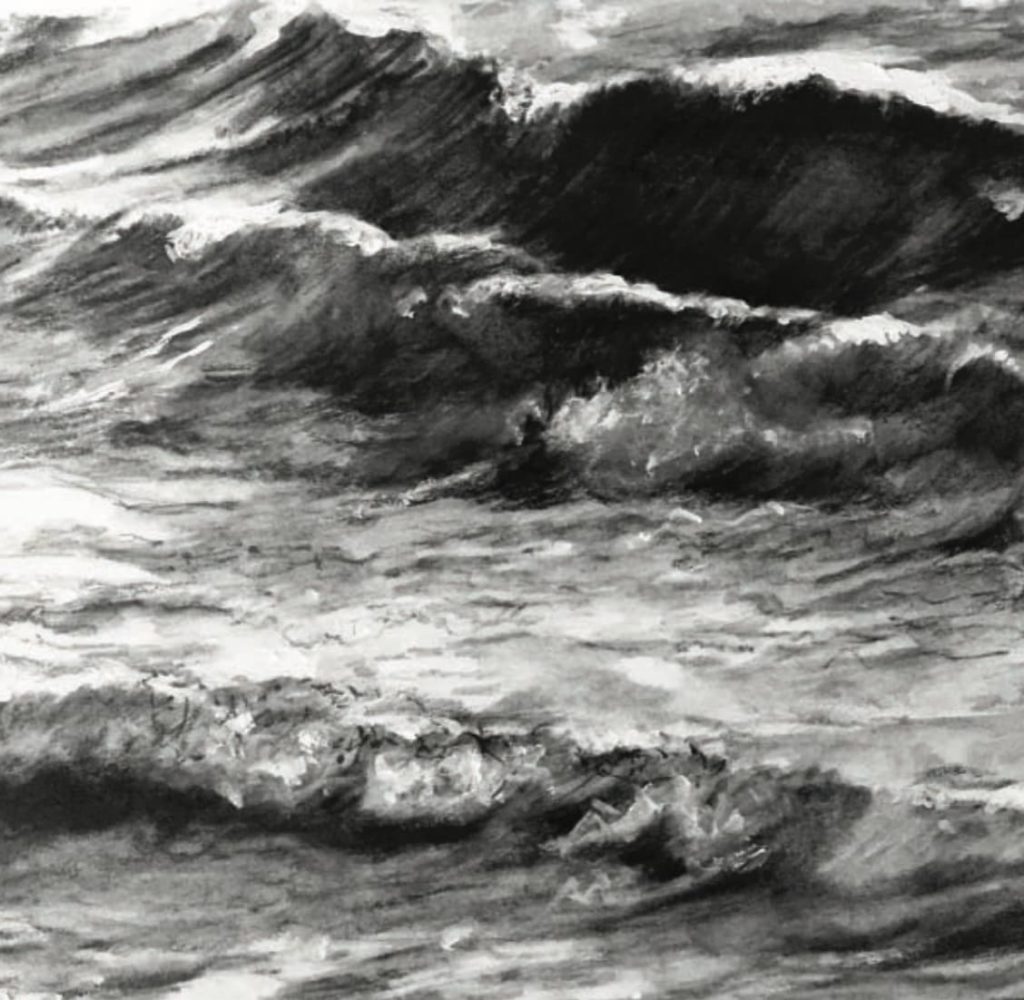
I added more details and strengthened darks. As I did so, I softened the dry pencil lines using a brush that was just slightly damp.
Step 3
When my surface was completely dry, I added more crisp lines and a few little dot-like ones to convey the sunlight bouncing off the ocean’s surface. I achieved the darker dots by dipping the very tip of the pencil point into water to make the graphite point softer and a little sticky. The marks ranged between thick and thin, dark and light, flat and raised. Using a water soluble white pencil in the same way, I added some little lights.

Step 4
I used my 4B pencil to make several mixtures of liquid graphite (see the tip below), which I could then apply with watercolor brushes. I added the last dark accents with an 8B pencil over wet washes. This method of layering wet and dry water soluble pencils builds rich blacks. For the final highlights, I added small dabs of thick white gouache. These top-plane ledges catch the downward glow of the picture lights aimed at the image when it’s hung on the gallery wall.
A Tip for Using Water Soluble Graphite
Although water soluble graphite is sold in a range of values, once the graphite is wet the values are not easy to control. You can regain some of that control by making your own solutions of liquid graphite. First, shape various pencils on a sandpaper block. Collect the resulting graphite granules, and mix them with different amounts of water in little containers. You’ll then have several liquid-graphite mixtures, each with a distinct, consistent value.
You may also like:





Join the Conversation!