Techniques for Narrative Art: Painting with Meaning
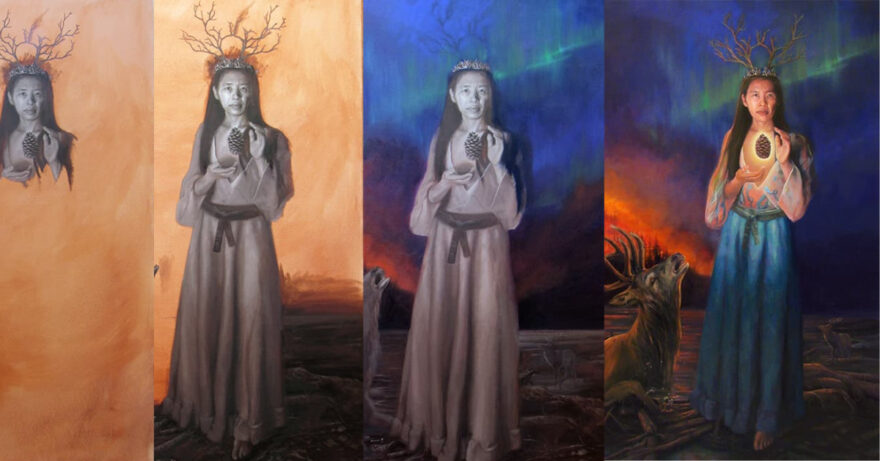
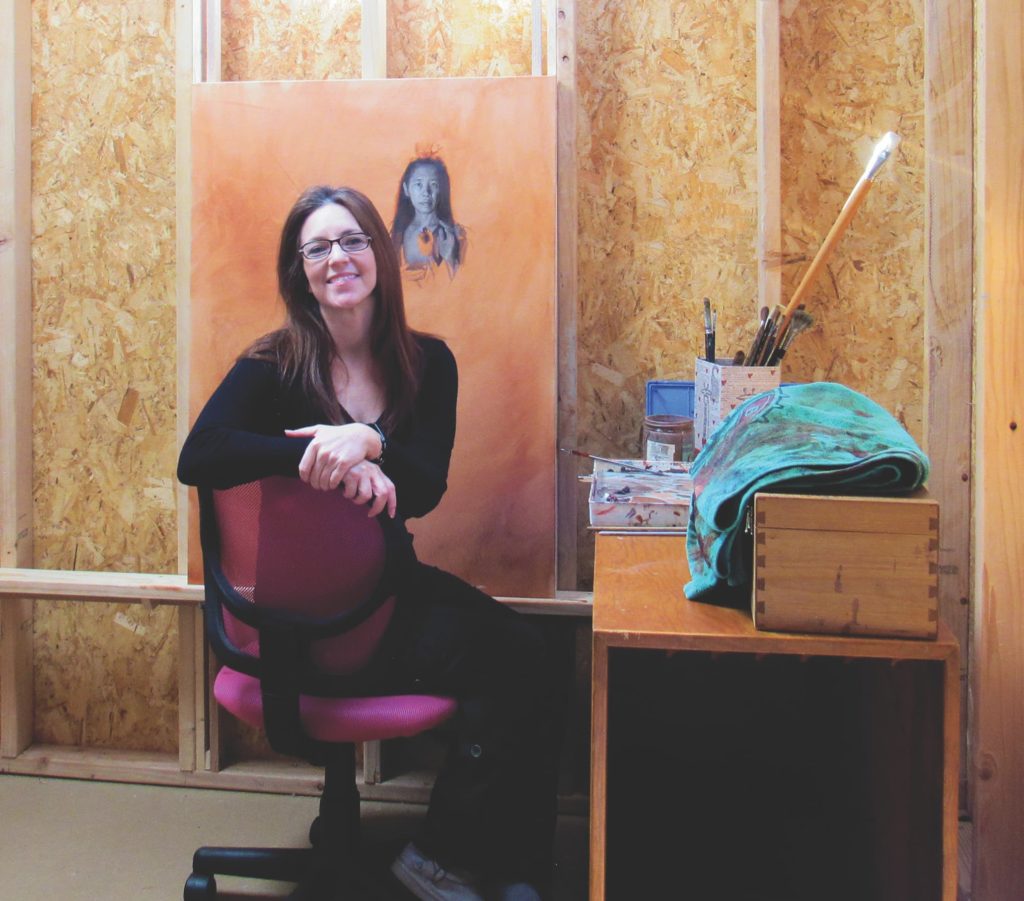
Carrie Robles shows how she builds a narrative portrait from the ground up, step-by-step.
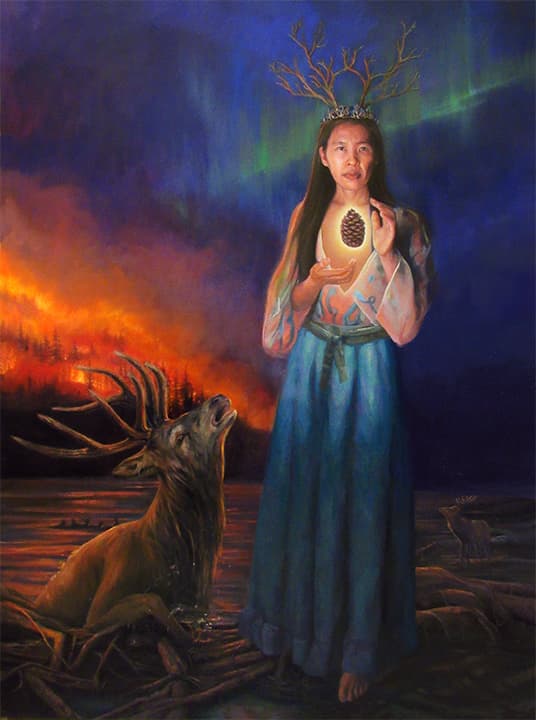
My narrative art is often a mix of ideas, references, and invention. With a combination of reference material from photoshoots, sketches, and color studies, I begin the actual painting after I’ve worked out my composition. My creative process also varies greatly depending on the complexity of the image and my confidence level. In order to break it down step-by-step below, I approached At Aurora’s Edge (oil, 30 x 40) pretty carefully with the indirect method of painting a grisaille first. Let’s get started!
At Aurora’s Edge Demo
Step 1
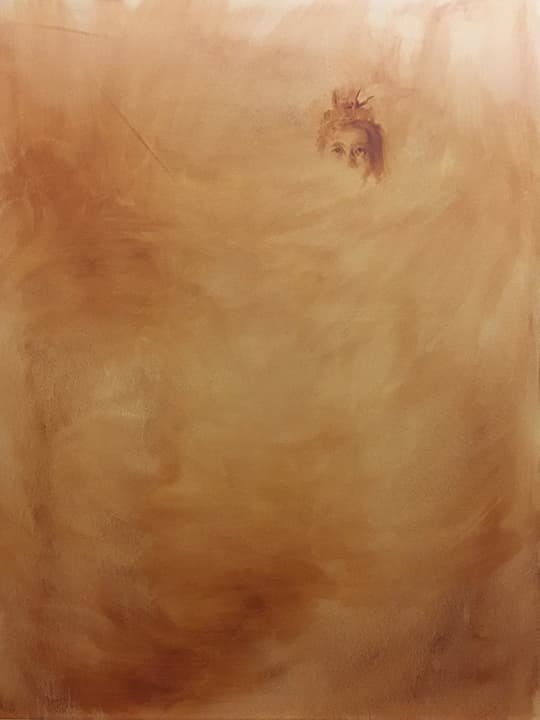
After toning the canvas with burnt sienna, I lightly sketched enough of the main figure to get the correct placement.
Step 2
Rather than sketching the entire figure out with a burnt sienna underpainting, I draw her in full grisaille. This way I can draw in value masses rather than sketching out in a more linear way. I tend to work better working specific to specific rather than general to specific—especially, if I’ve already worked out where I’m going. I move from shape to shape in grisaille, using burnt umber and white, thinking about all the shapes of value and how the light is moving over the form. Here, I start with the head.
Step 3
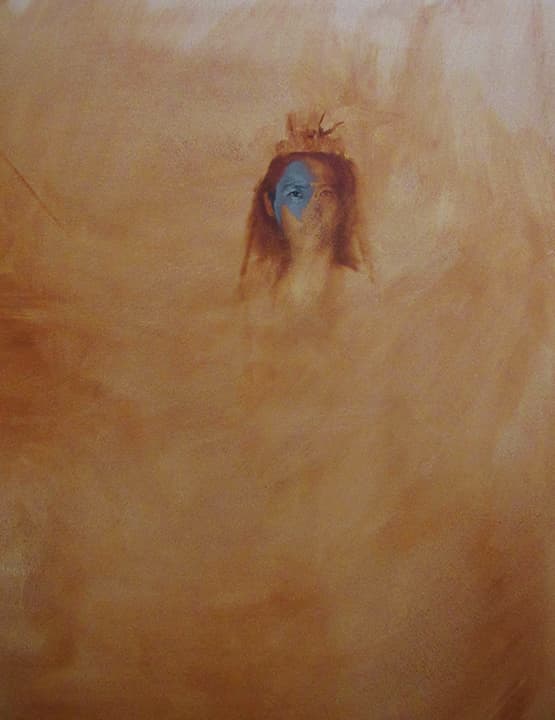
Continuing the grisaille drawing/underpainting, I work my way down the figure. It is easy to continue wherever a shape meets another since you can judge drawing distances by the shape relationships.
Step 4
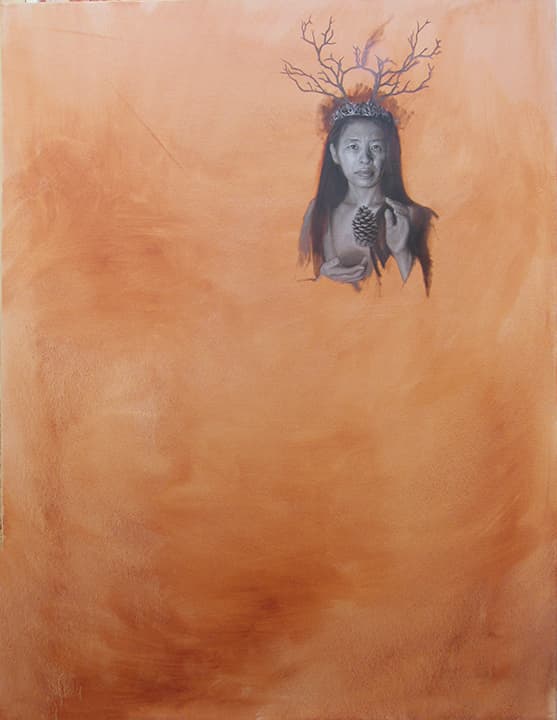
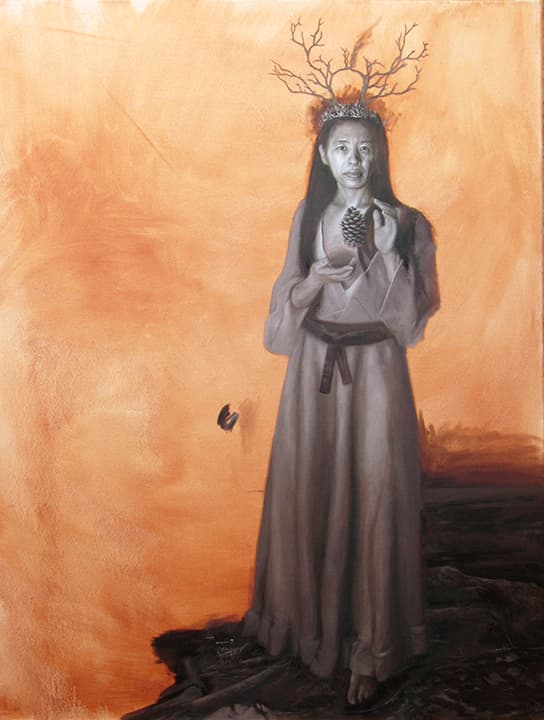
Now that the figure is complete, I can proceed to the ground and start making my way around the drawing. I’ve worked my way through the ground a bit and start itching to get the next figure in there. I begin by carefully gauging where the deer will be and jump in with the mouth area. I can easily see the negative space between it and the edge of the skirt for placement.
Step 5
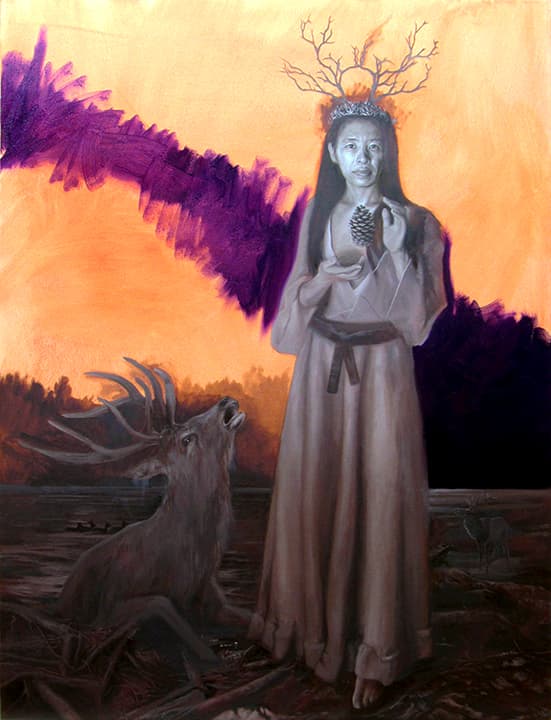
Once the deer is painted, I can complete the middle and foreground in grisaille. I don’t want to do any of the background in grisaille because I want it to be more transparent. I feel pretty happy with the grisaille underpainting and begin the color phase.
Step 6
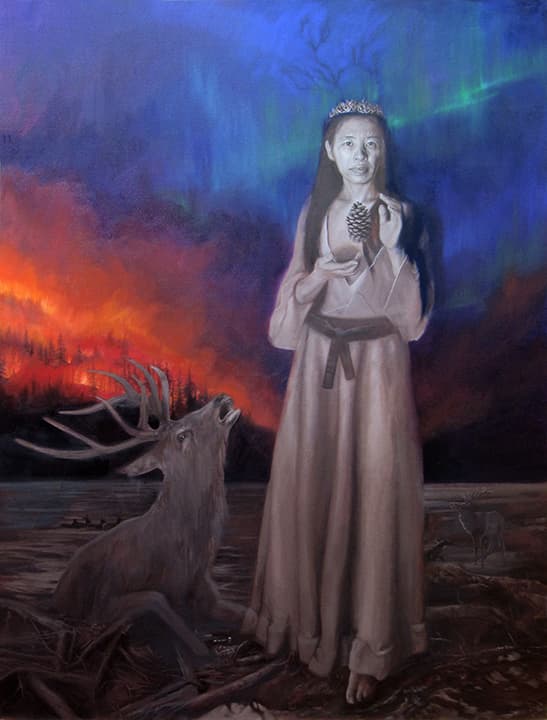
I paint in the sky and background, and realize it will be too much of a pain to carefully paint around the subject “tree antlers”, so I end up just painting through them.
Step 7
After the background and middle ground, I focus on the main figure. I work with glazes and scumbles and even out some passages by painting opaquely over the grisaille. If the grisaille underpainting needs altering, I just change it. For example, her face was never quite right so I know I’m going to change it in the next stage.
Step 8
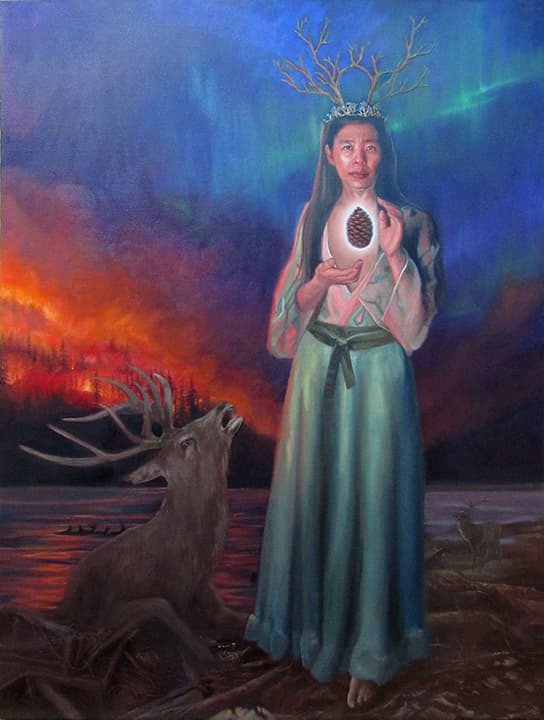
From Step 7 to Step 8, we have big changes. Everything was in a broad flat shape stage in Step 7 and needed to be more modeled. To get to the next step I made a lot of gradual and subtle changes to improve the realistic illusion. In addition, I made some drawing corrections to get a better likeness.
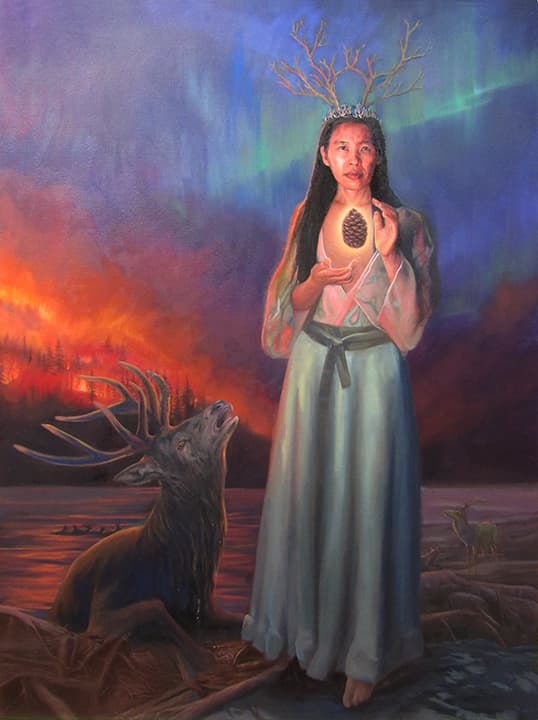
I also wanted to enhance the surface quality. So I added copal medium into the mix. I wouldn’t suggest it for a commission, because it can yellow and darken over time. However, I love the effect of copal. It gives the paint film an almost enamel-like quality. I also like the idea of the painting changing over time, yellowing and darkening, adding a living layer to the fire theme. I start to add color and modeling to the deer as well as the water in front.
Step 9
Now I’m starting to work on inventing more of a mood. I shift more to the fire as the dominant light source and the pinecone as the secondary source, rather than the lighting I used in the model photo shoot. So I decide to darken the skirt to make the fire in the background more prominent, and also start to color and model in the foreground, feet, branches and debris.
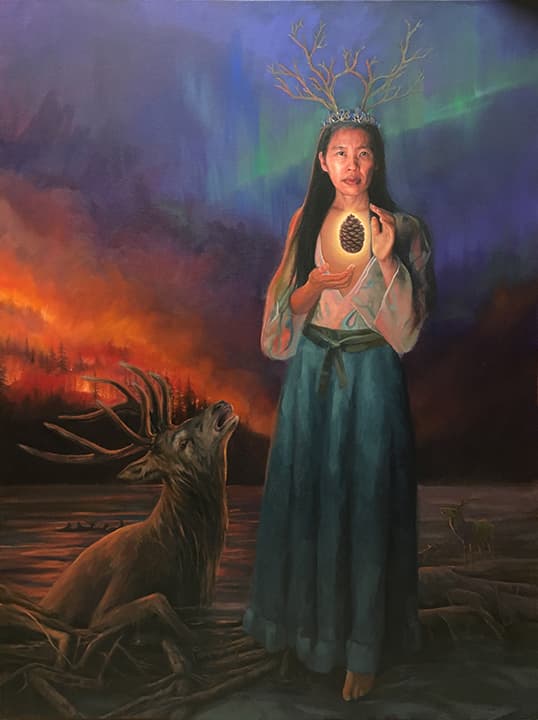
Step 10
To complete the painting, I do a lot of touch-ups here and there and hone in on getting the feeling of the struggling deer with the movement of water dripping off him. Then I balance the light and integrate everything since I’m working with an invented scene. And now the final painting!
For more on Carrie Robles and her work check out the feature profile in the June 2020 issue of Artists Magazine.


Join the Conversation!