The Essential Toolkit for DIY Picture Framing
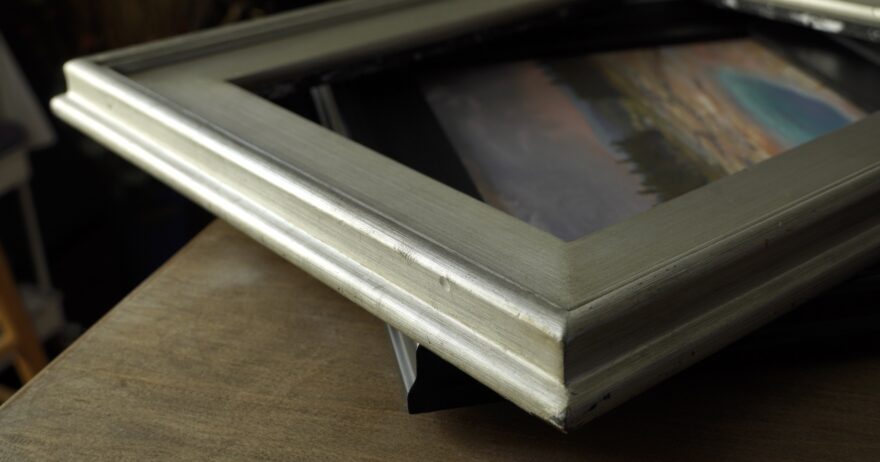
There’s a profound satisfaction in framing your own artwork. Working with professional picture framers is the right choice for many artists, but it’s helpful and satisfying to manage minor framing tasks yourself. Having the right tools on hand in your studio can significantly streamline the framing process and help you avoid trips to the frame shop for small jobs. Whether you’re mounting a piece for display or preparing your artwork for exhibition, these tools will make smaller framing tasks quick, easy, and affordable.
Double-Sided Tape
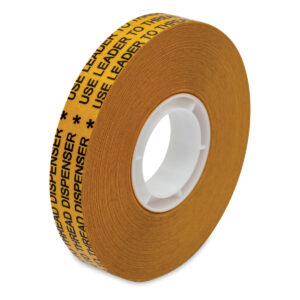
Double-sided tape is a crucial component in the DIY framing tool set. While it’s not a good idea to use double-sided tape to mount artwork, it’s handy for other uses, like adhering layers of mat board and dust cover bonding. It’s a good idea to select archival-grade double-sided tape, even if it doesn’t come in direct contact with your artwork.
Point Driver
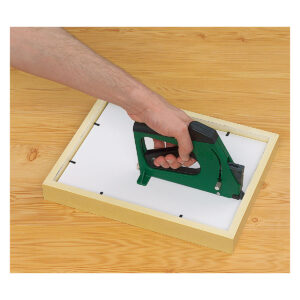
Double-sided tape is a crucial component in the DIY framing tool set. While it’s not a good idea to use double-sided tape to mount artwork, it’s handy for other uses, like adhering layers of mat board and dust cover bonding. It’s a good idea to select archival-grade double-sided tape, even if it doesn’t come in direct contact with your artwork.
Hand-Held Mat Cutter
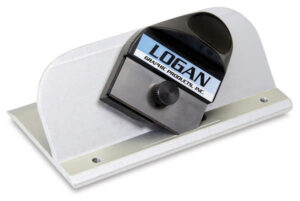
If you’re matting a high volume of artwork, it’s best to have a full-sized mat cutter. But for smaller projects and occasional matting jobs, a hand-held mat cutter can be an essential tool in your studio. Used with a good straight edge, this tool allows for precise and clean bevel cuts, and works for both left-handed and right-handed artists. It takes practice to use these effectively, but once you’ve got the technique down, it can save you trips to the custom frame shop.
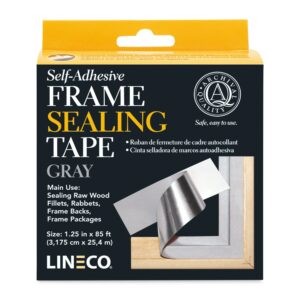
Frame Seal Tape
Frame seal tape provides a protective barrier along wood rabbets and the edges of the frame to prevent dust, moisture, and insects from infiltrating and potentially damaging your artwork. Lineco Frame Sealing Tape is an acid-free, lignin-free adhesive tape that effectively seals backing boards to frames, providing a protective barrier against acidic materials. Its thin aluminum layer ensures maximum preservation framing, while its pressure-sensitive adhesive attaches firmly to almost any surface, including raw wood rabbets, fillets, and filler boards.
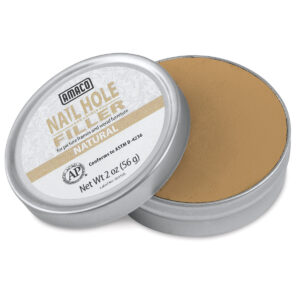
Nail and Corner Filler
Picture frames can be particularly vulnerable to nicks and dings. Nail and Corner Filler makes it easy to fill gaps, cracks and holes for a professional finish. The putty is available in a variety of colors to match different frame finishes. A bonus is that it can be used on furniture and other household items!
Do you frame your own artwork? What’s on your list of essential tools and materials? Share your thoughts below!

Meet the Artist
Scott Maier is an artist and a content contributor to artistsnetwork.com. He’s also the author of the instructional art book See, Think, Draw: An Easy Guide for Realistic Drawing and Beyond.
From Our Shop







I agree with Leslie, there is more to framing than what is mentioned in this article. What about brown tape for rear of the frame; MDF or hardboard for the backing panel; perspex or glass? Consider whether you are going to make your own frame, in which case you need the moulding material and a (hand saw) mitre saw to cut the moulding.
Also, the article has a typo, the paragraph under the sub-title ‘Point Driver’ repeats the same text of the previous paragraph ‘Double-sided Tape’.
I think you missed half of the work. What about matting your work (watercolor) and backing? Then D-rings and wire? Where to put the wire and how loose to make it. The question of using glass or plexiglass is also part of the framing job (I use plexiglass). There is so much more to it. (PS: I cut my own mats and have found the mat cutter is needed for so much more)